Passwords
Topics - Network Passwords
- How can I change the security questions and/or answers for my network password?
- How can I reset my network password, should I forget it?
- How do I change my network password?
- How do I create a strong network password?
- How do I register for "Self-Service Network Password Reset"?
- What do I do if I have received an Automated Email from "Network Password Reset" unexpectedly?
- What do I do if I receive a pop-up window stating that my Password Reset account has been locked?
- My issue is not in this list
Topics - Mainframe Passwords
Topics - Multi-Factor Authentication (MFA)
- What is Multi-Factor Authentication (MFA)
- How to setup your MFA for the first time
- MFA using the Authentication App
- MFA using a phone call
- Configure MFA with a phone call
- Authenticate using a phone call
- MFA using a Security Key
- Configure MFA using a Security Key
- Authenticate using a Security Key
- How to add, change, delete or set your default authentication method for your MFA
- Who to contact for technical support
How can I change the security questions and/or answers for my network password?
The security questions and answers can be changed at any time, by using the "Registration – Network Password Reset" icon located on the desktop of your computer.

Click on the icon and the registration screen will open. From there you can modify your answers and/or select and answer other questions.
How can I reset my network password, should I forget it?
Note: You must be registered for "Self-Service Network Password Reset" first in order to be able to reset your password on your own.
On the logon screen, you will notice a link called "Problems Logging In?" located under the "User name" and "Password" fields. You will be asked to answer three of the questions that you initially answered and to reset your network password. If you have a departmental BlackBerry, you also need to update the password on your device.
How do I change my network password?
Important: Review the Passwords DOs and DON'Ts for the security rules that you need to follow when creating a new network password.
Information on how to create a strong password (PDF Version, 1.4 MB) is also found there.
To change your password:
- Press CTRL+ALT+DEL
- Select Change a Password…
- Enter your Old Password, then enter your New Password and Confirm your new password
- Click on the arrow button to submit the change
- You will receive a message noting that your password has been changed
Note: If you have a departmental BlackBerry, you also need to update the password on your device.
How do I create a strong network password?
Important: Consult the DOs and DON'Ts for passwords. This information will help you create a strong network password.
- Make your password stronger by using passwords that contain more than one character from each category:
- Minimum one uppercase characters (A - Z)
- Minimum one lowercase characters (a - z)
- Minimum one numeric characters (0 - 9)
- special characters (* $ !)
- Follow the advice in Creating Strong Passwords.
Need password parameters for an ESDC mainframe application? Review the password rules here.
- Make your password stronger by using passwords that contain more than one character from each category:
How do I register for "Self-Service Network Password Reset"?
There are two ways to register to the service:
- Using the pop-up window asking you to register. This pop-up window is legitimate and is not a phishing attempt. Note that this pop-up will no longer appear once you have registered.
- Using the "Registration – Network Password Reset" icon located on your computer's desktop.
Follow the instructions provided on every screen to register. Plan to take 10 minutes to answer a number of security questions as part of registration.
What do I do if I have received an Automated Email from "Network Password Reset" unexpectedly?
IMPORTANT: If you think that protected information may have been accessed through your network account, immediately contact the National Service Desk and include details of the event.
You will normally receive an automatically generated email if you have registered or re-registered with "Network Password Reset".
If you have NOT registered\re-registered with "Network Password Reset" and yet have received an automated email, immediately:
- Change your security questions and responses. Use the desktop icon "Registration - Network Password Reset" (or use https://reg.prv/default.aspx in your web browser).
- Change your network password. Use CTRL+ALT+Del to access Change a password.
What do I do if I receive a pop-up window stating that my Password Reset account has been locked?
IMPORTANT: If you think that protected information may have been accessed through your network account, immediately contact the National Service Desk and include details of the event.
You can be temporarily locked out of Password Reset for fifteen minutes after three unsuccessful attempts to respond to your security questions. An unsuccessful attempt happens when you enter incorrect answers to your security questions or when you Cancel your reset attempt.
After three temporary lockouts, regardless as to the time in between lockouts (days, months), you will have to re-register with Password Reset.
- Use the desktop icon "Registration - Network Password Reset", or
- Type https://reg.prv/default.aspx into your web browser address bar to re-register.
If you have NOT attempted to use Password Reset and yet have received an automated pop-up message, immediately:
- Change your security questions and responses. Use the desktop icon "Registration - Network Password Reset" (or use https://reg.prv/default.aspx in your web browser).
- Change your network password. Use CTRL+ALT+Del to access Change a password.
What is Multi-Factor Authentication (MFA)
Multi-factor authentication is a process where a user is prompted during the sign-in process for an additional form of identification.
If you only use a password to authenticate and the password is weak or has been exposed elsewhere, an attacker could steal your identity. When a second factor of authentication is required, security is increased as this additional factor is not something that is easy for an attacker to obtain or duplicate.
MFA is required for Microsoft Azure and Office 365 suite (Azure Portal, Office.com, Teams, Dynamics, etc…). Once MFA has been enforced on your user account, you will first need to configure it by yourself by selecting your method of authentication.
ESDC currently provides 3 methods for the second factor authentication. Clients are free to choose which MFA method as their primary and which for a backup.
- A phone call
- Mobile application on your smartphone
- Security Key (i.e. Yubikey) – If one has been furnished to you
It is encouraged that clients configure a backup method of MFA authentication, such as another phone number or the Microsoft authentication App on your smartphone device, in the event their primary MFA method is not available.
You will be prompted to validate your second factor every 24 hours for each cloud application you launch. You will also be prompted if you launch the application within a different browser. The time request will extend over time as security controls on the cloud are configured.
How to setup your MFA for the first time
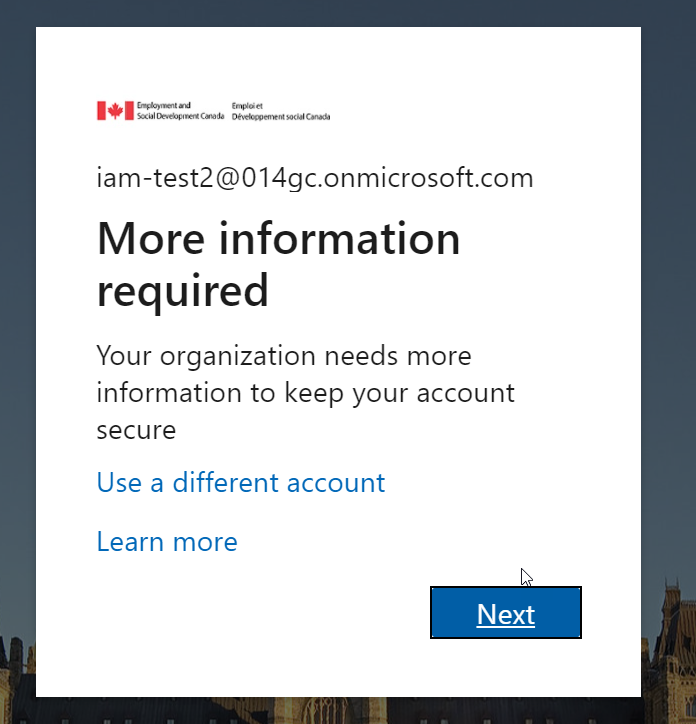
Once your user account has been configured for MFA by the administrator, go to: My Account (https://myworkaccount.microsoft.com)
-
You will receive the following pop-up window. If this is the account you wish to login, select Next.
-
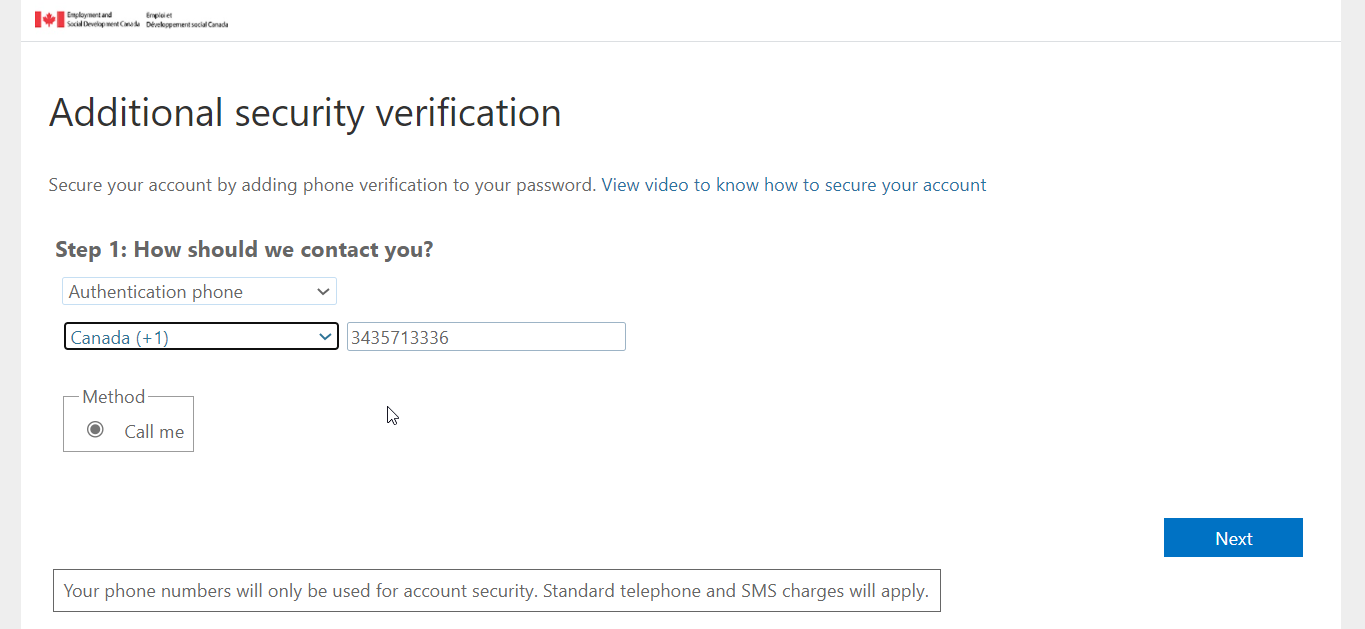
select Authentication phone from the drop box
Choose your country “Canada (+1)” and indicate the phone number you wish to receive the authentication call. (Make sure it is a valid phone number). Select Next.
-
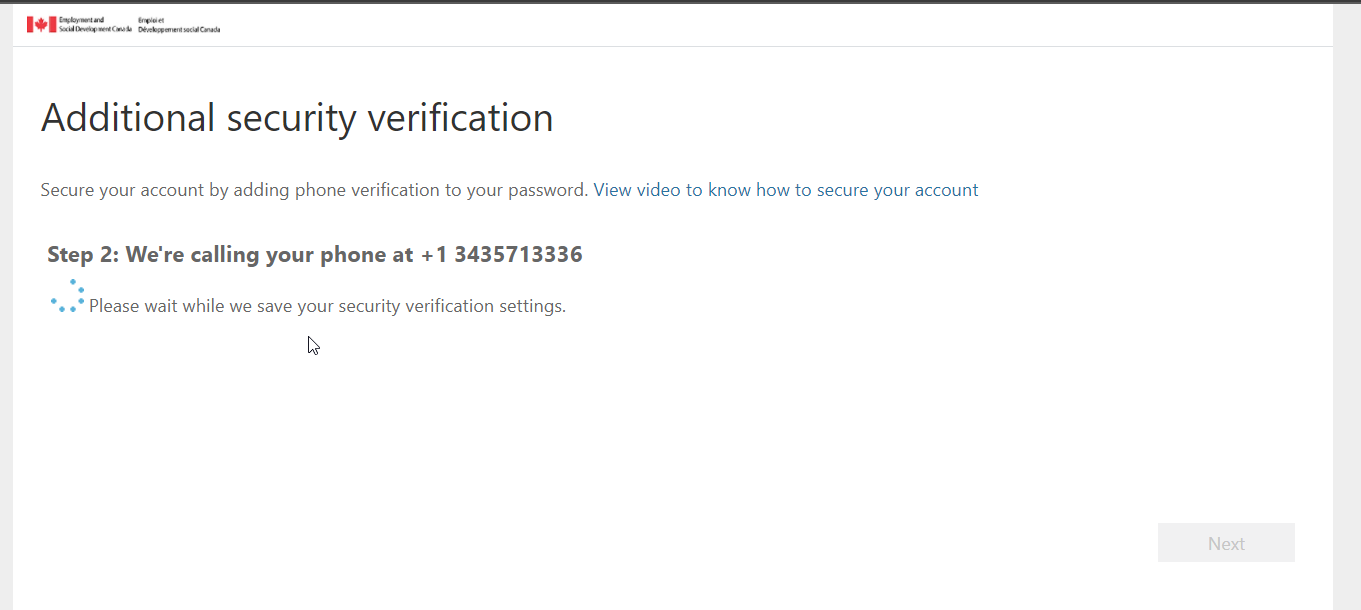
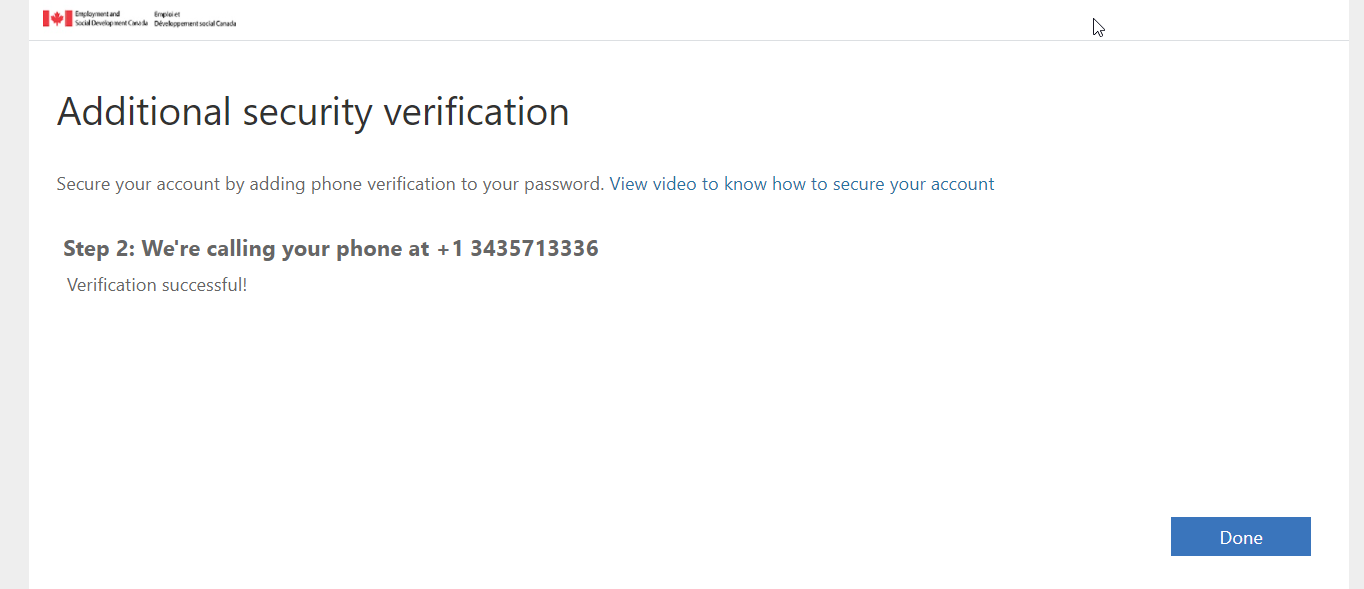
The screen below, indicates that Microsoft is calling you to verify your authentication.
-
On your phone
-
You will receive a phone call from Microsoft. The number will be 1–855 or private number.
Make sure you do not block these numbers.
-
Answer the call and press # to validate the verification.
Note: Microsoft will continue calling until you validate your authentication. If you do not want to validate, you will need to close the application(s) requesting the MFA.
-
-
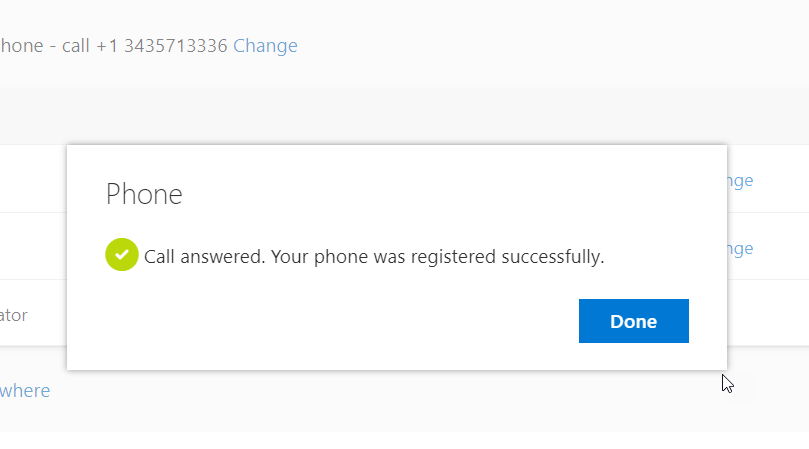
Once you validate the phone verification successfully, select Done.
The primary set up of your MFA is now complete. You must now proceed to the set up alternate authentication configuration.
-
MFA using the Authentication App
Installing Microsoft Authenticator App on your mobile device
If you have Government of Canada (GoC) data enabled Smart Phone and/or device
For your iPhone device
- Select Work Apps
- Search for an tap to trigger the installation of the Microsoft Authenticator app.
For your Samsung device (Managed by GoC)
If you do not have Teams or Microsoft Authenticator app on your Workspace side, you will need to install them.
- Launch the UEM client from the Workspace side
- Select Assigned Work apps, search for and tap to trigger the installation of the Microsoft Authenticator app.
From your own device or GoC text and Voice Smart Phone
If you do not have Microsoft Authenticator App installed on your device already, you will need to install it.
- Go to you App Store or your Play store and install Microsoft Authenticator App
- If you need to create a google account for Play store, please follow instruction How do I create a google Account so that I can access play store? found on this link: Quick Fixes - Samsung Mobile Phones (iservice.prv)
Configure MFA using the Authenticator app
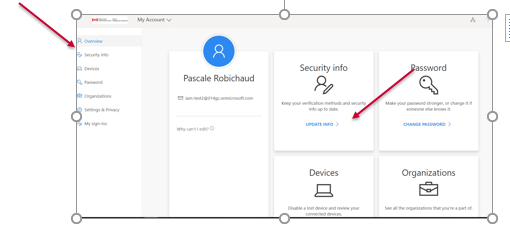
Access your work account information at the following web address myworkaccount or select My Account.
Select Security Information on the left side of the screen or in the Security info box, select Update Info.
-
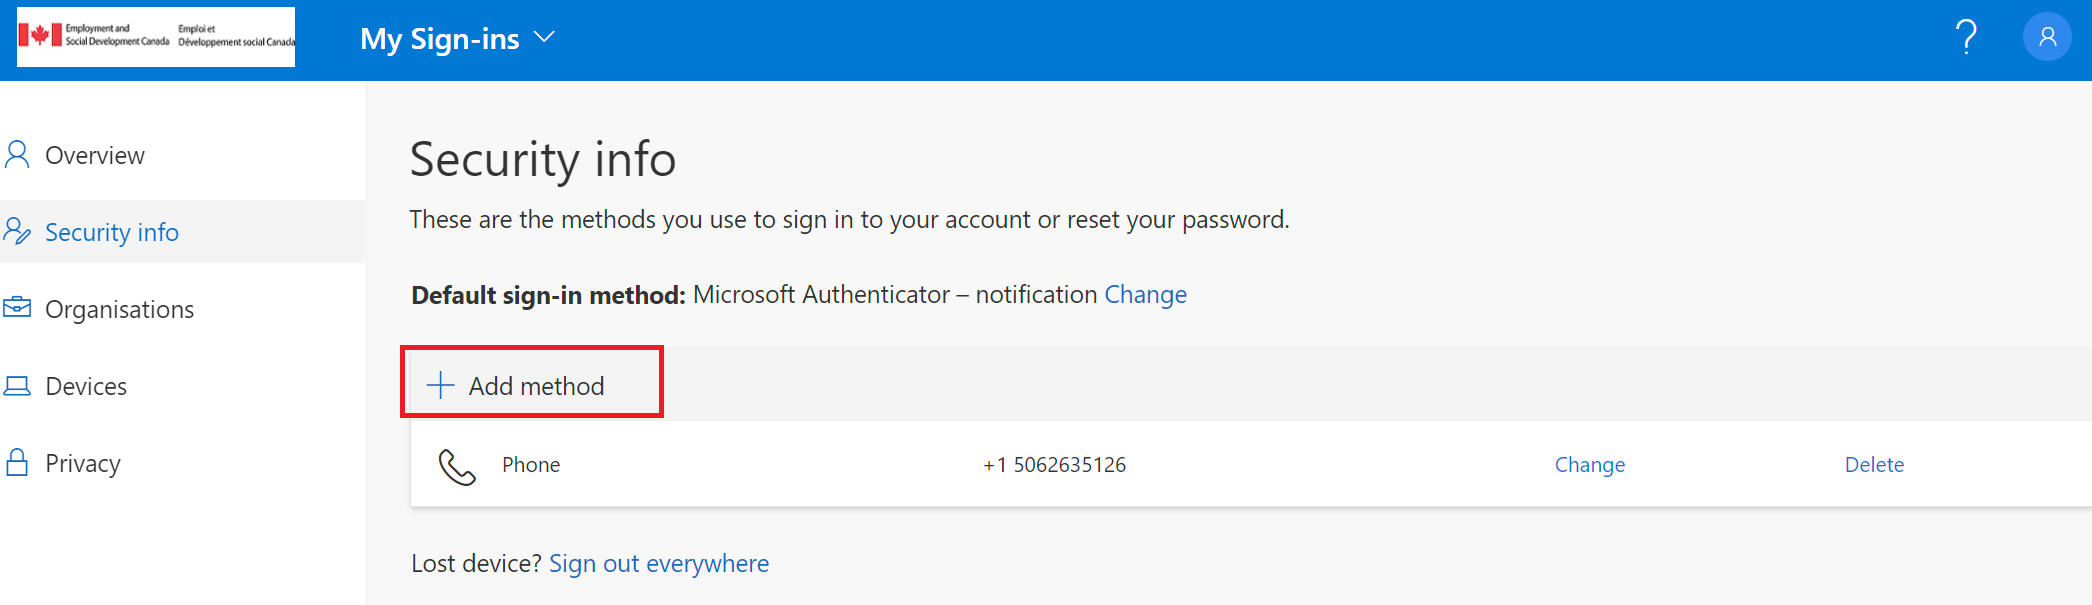
Select + Add method
-
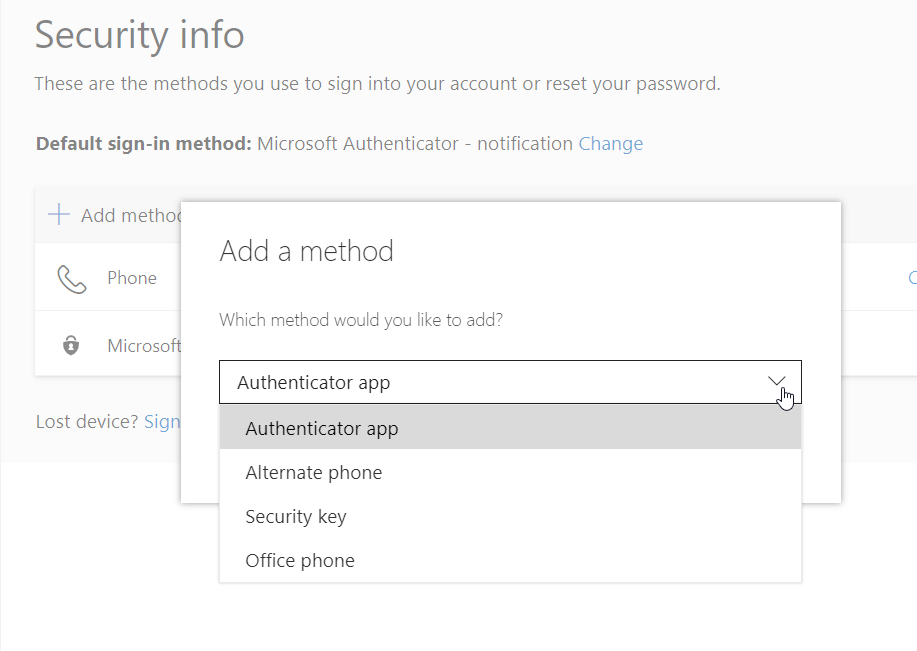
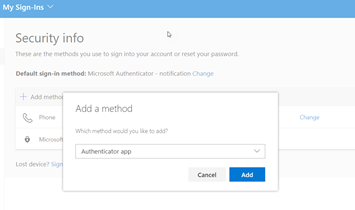
Select Authenticator app then Add
-
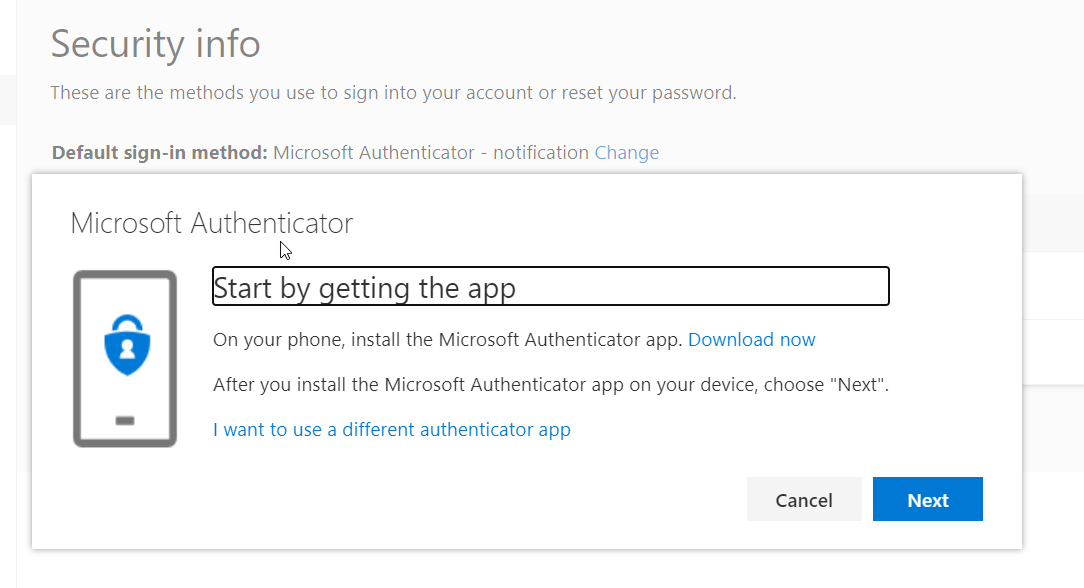
Install Microsoft Authenticator App on your mobile device
If not installed, follow the instruction: Installing Microsoft Authenticator App on your mobile device
When Microsoft Authenticator App is installed on your mobile device, on your computer, select Next
-
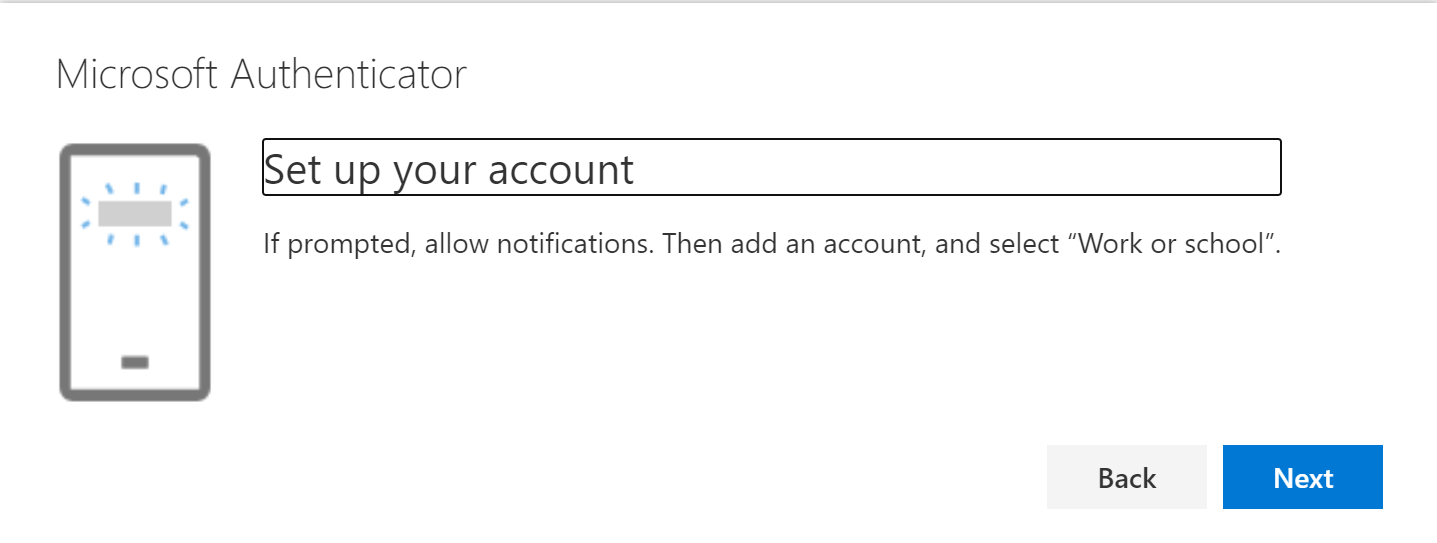
On your computer, select Next
-
When you receive this window on your computer, you will need to setup a Microsoft Authenticator account on your mobile device.
-
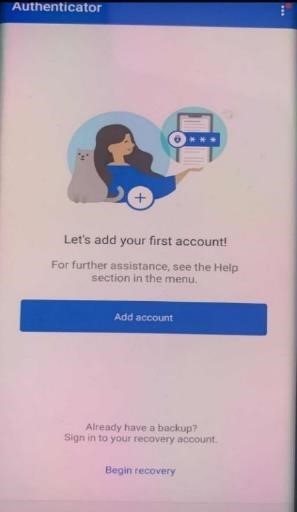
On your Smart Phone, Launch Microsoft Authenticator App
-
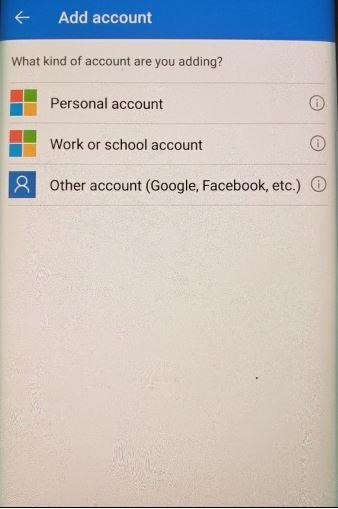
Select add account (Or select the + sign if you already have an account). Select Continue if you get a message.
-
Select Work or School account and tap on Scan QR
-
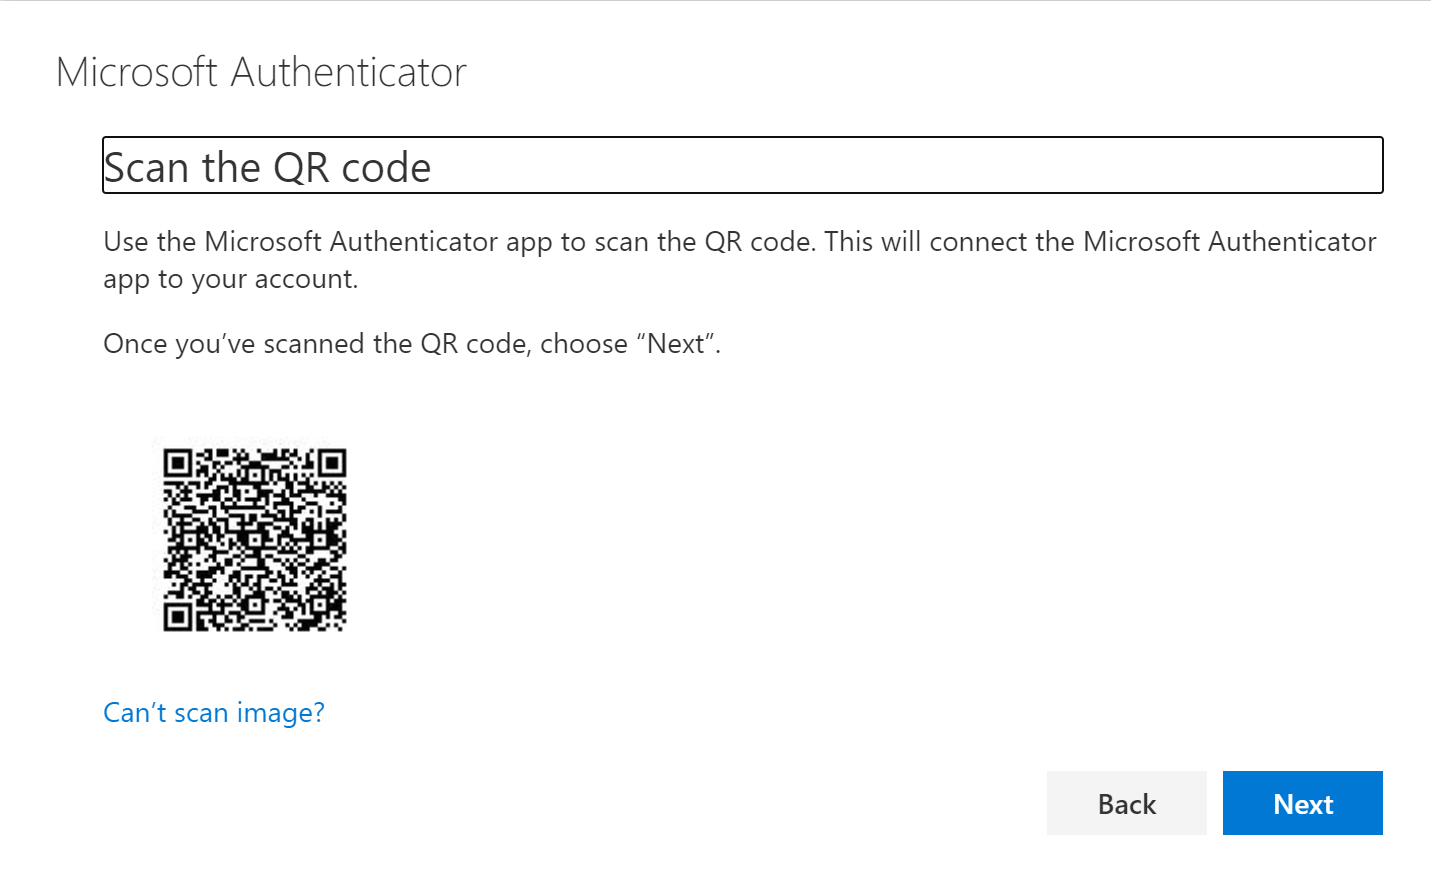
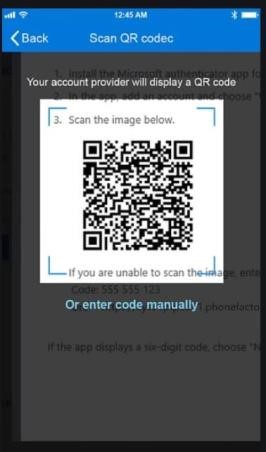
With your mobile device, scan the QR code that is displayed on your computer screen
-
Your ESDC/EDSC account is now ready

-
-
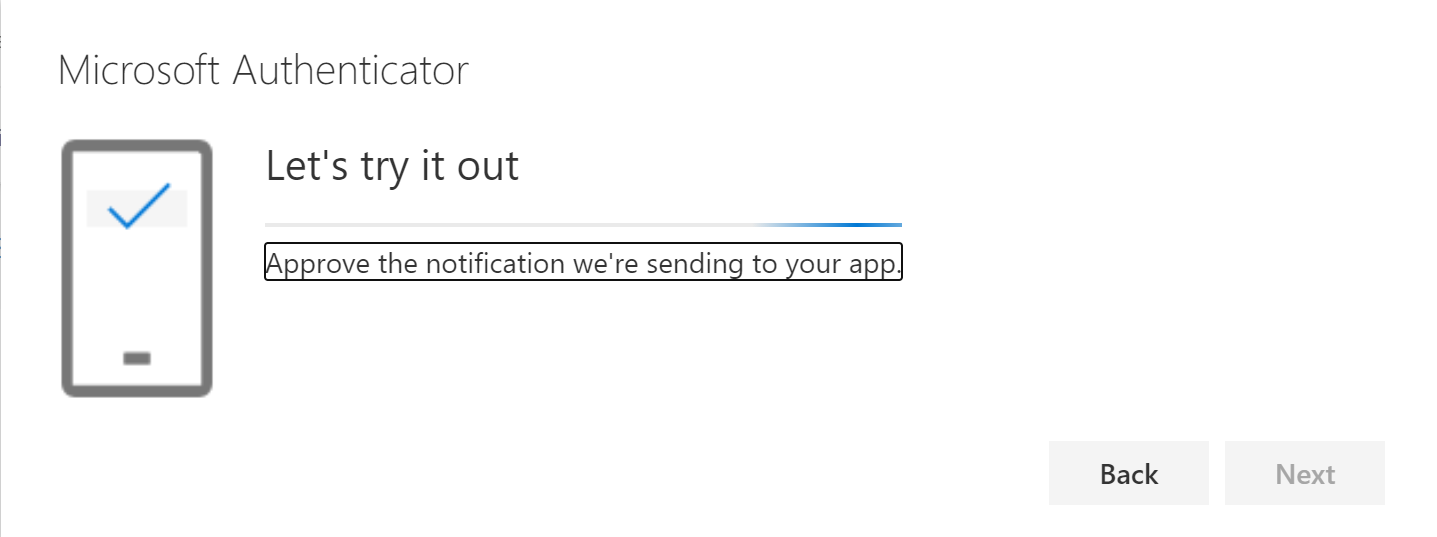
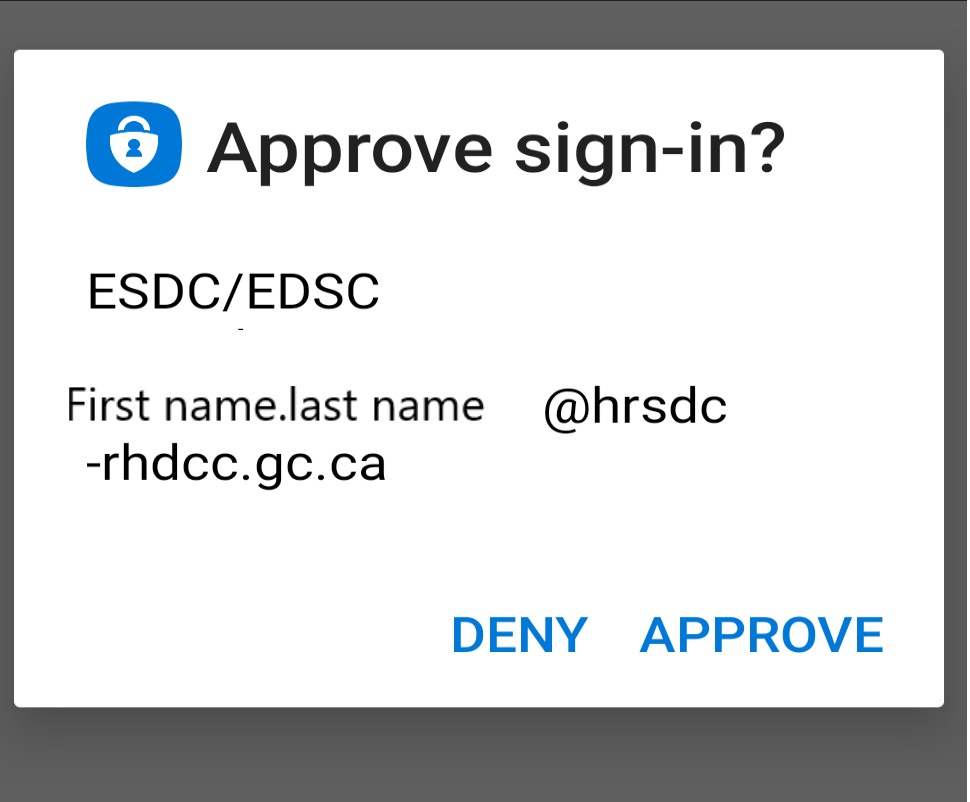
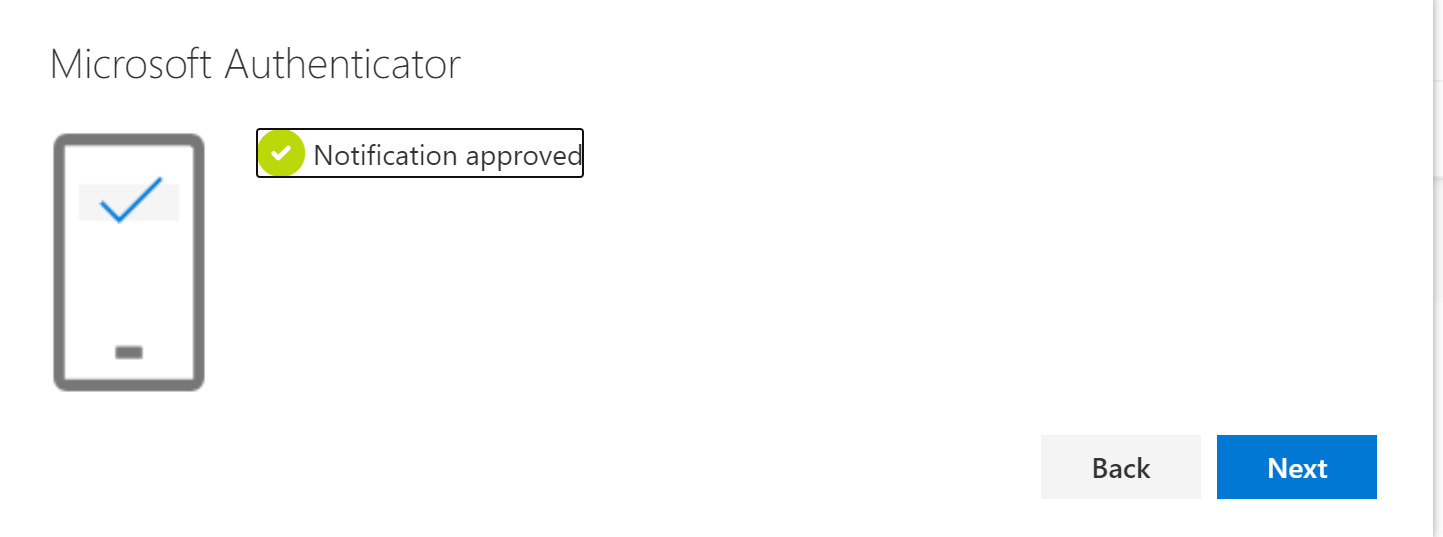
On your computer, you will get the Let’s try it out window. On your mobile device, you will be sent an approval request on your mobile device in the Microsoft authenticator App . Select Approve.
-
On your computer, you will see that your notification was approved. Select Next to complete the setup
-
MFA using a phone call
Configure MFA with a phone call
You can add up to 3 different phones number for your MFA method. You need to have the phone in your possession to configure it as an MFA method.
-
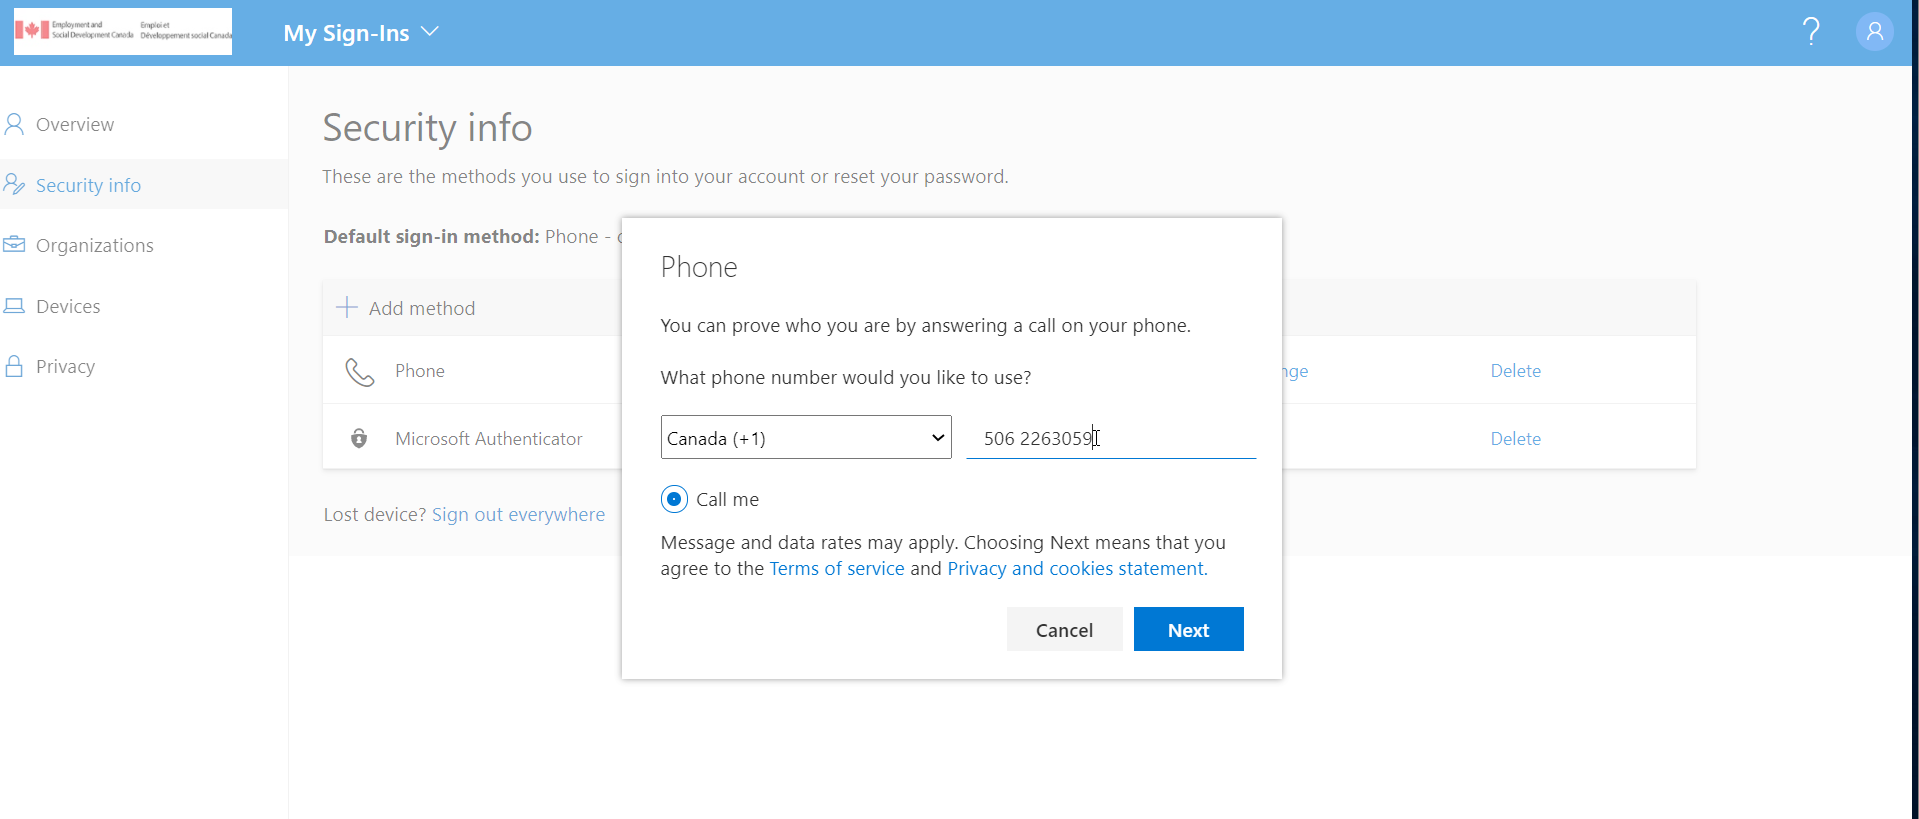
Phone
You authenticate by receiving a call on your Government of Canada mobile device, personal mobile device, or home phone number.
-
Alternative phone
You authenticate by receiving a call on your Government of Canada mobile device, personal mobile device, or home phone number.
-
Office phone
You authenticate by receiving a call on your VOIP phone in the office. (The phone number that is listed in your Outlook contacts).
Note: Microsoft will continue calling until you validate your authentication. If you do not want to validate, you will need to close the application(s) that is requesting the MFA
Access your work account information at the following web address myworkaccount or select My Account.
-
Select Security Information on the left side of the screen or in the Security info box, select Update INFO.
-
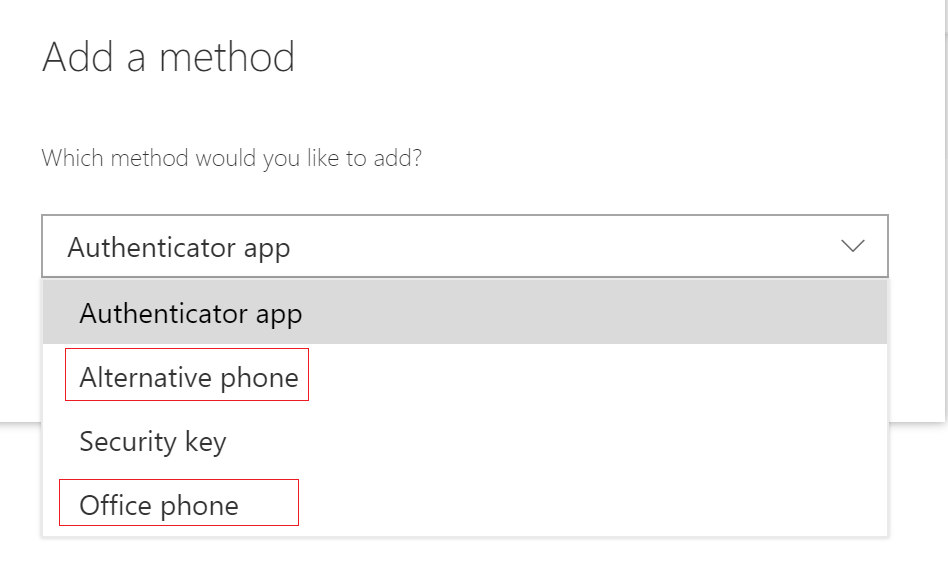
Select + Add method

-
Select Alternative phone or Office phone then select Add
Note: The office phone number will be pre populated for you. The number is the one you have listed in PeopleSoft. (If this is not accurate, you need to update it in PeopleSoft)
-
Choose your country “Canada (+1)” and enter the phone number you wish to receive the authentication call. Select Next
-
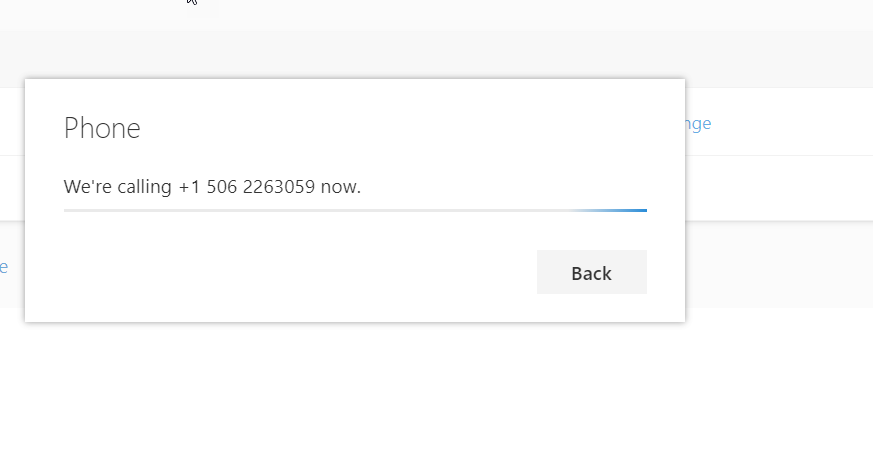
You will receive a phone call from the number 1–855 or private number. You will need to answer the call and press # to validate the verification. Make sure you do not block these numbers.
-
When the verification has been successfully completed, select Done.
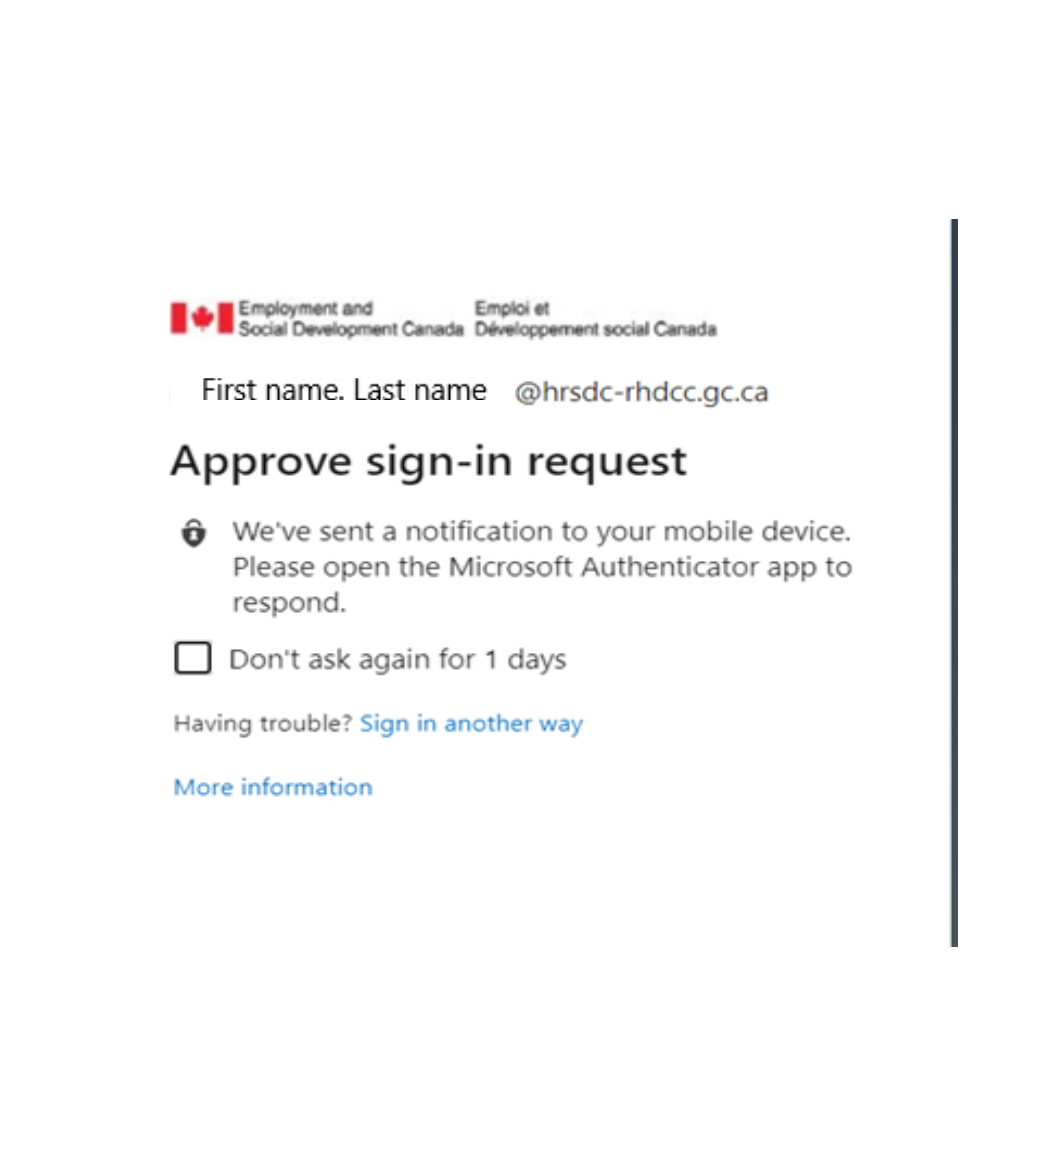
Authenticate using a phone call
-
You need to authenticate when you received this pop-up window.
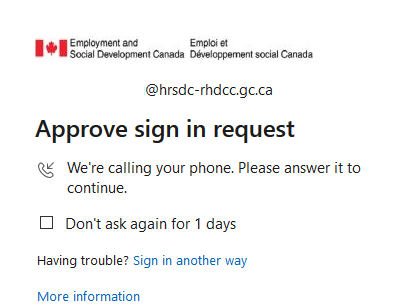
If you don’t have your phone with you, you can open another method by selecting Sign in another way
-
You will receive a phone call from the number 1-855 at the number you entered in your MFA method.
-
You will need to answer the call and press # to validate the verification.
-
MFA using a Security Key
Configure MFA using a Security Key
-
Open a ticket with NSD for the IT Security IAM-GIA group to enable the security key option on your account.
-
When you have your security key on your account. Access your work account information at the following web address myworkaccount or select My Account.
-
Select + Add method
-
Select Security Key then select Add

-
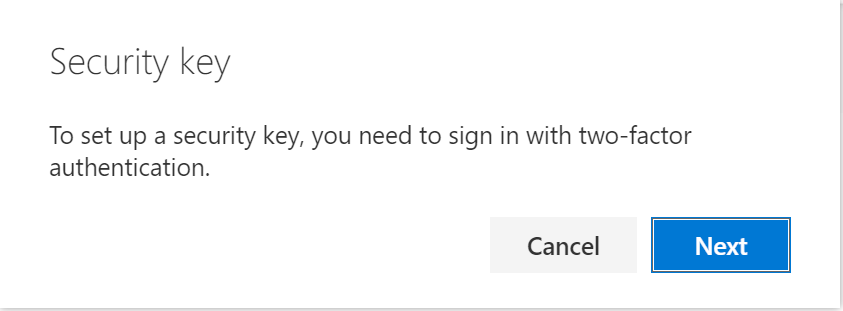
On the Security Key window select Next to sign in with the 2 factor authentication. (You will need to authenticate with you default method to continue adding your Security Key.)
-
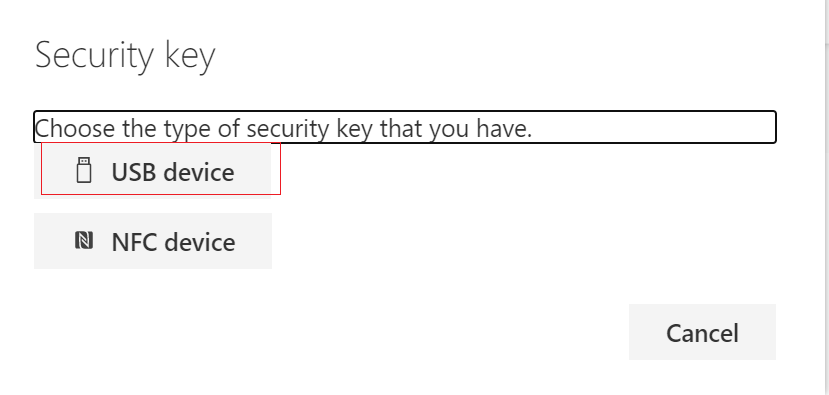
Select the type of Security Key you have – You probably have a USB device
-
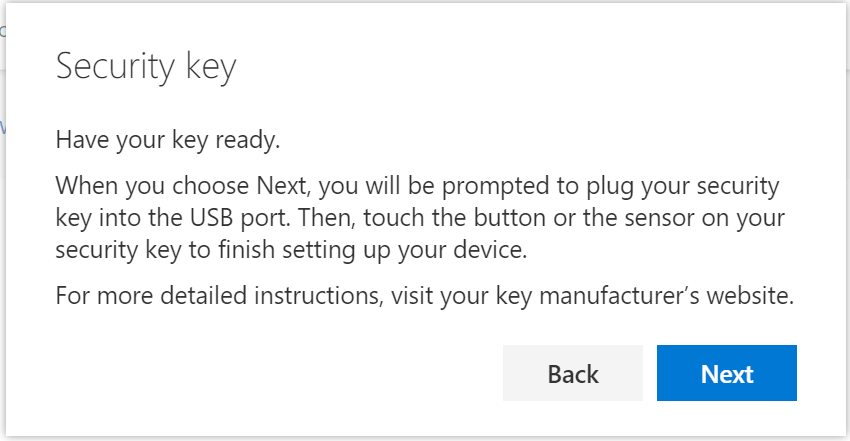
On the “Have your key ready” screen, select Next.
-
You will be prompted to plug your security key into the port and to enter your 4 digit pin. Select Next once done. Depending on your security key model, you might be asked different instructions. For the Yubikey, you will be ask to touch it. If you receive a request from Microsoft, select Allow
-
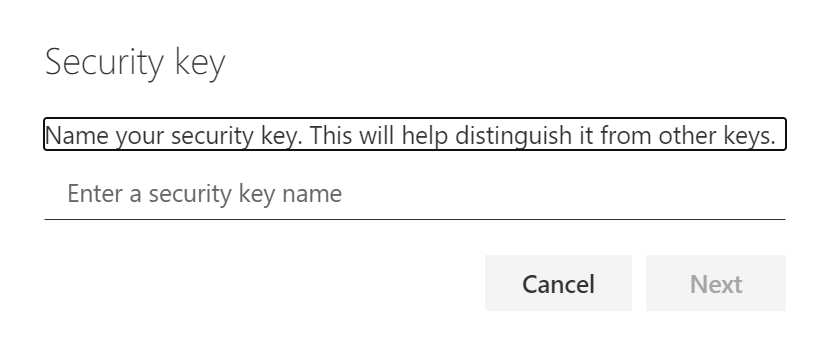
Choose a name that you want for your security key then select Next
-
Select Done, You should see Security key in the list of your authentication methods
-
Make sure you are still at the following web address myworkaccount or select My Account. Select your logo at the top right corner then select Connect to another account.
-
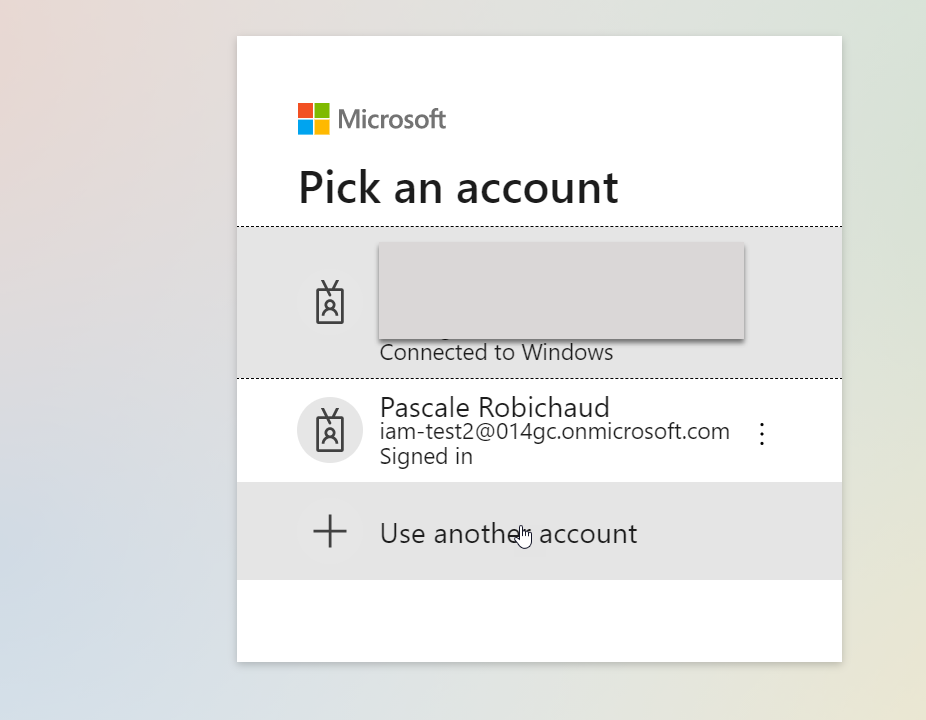
At the following window, select + Use another account.
-
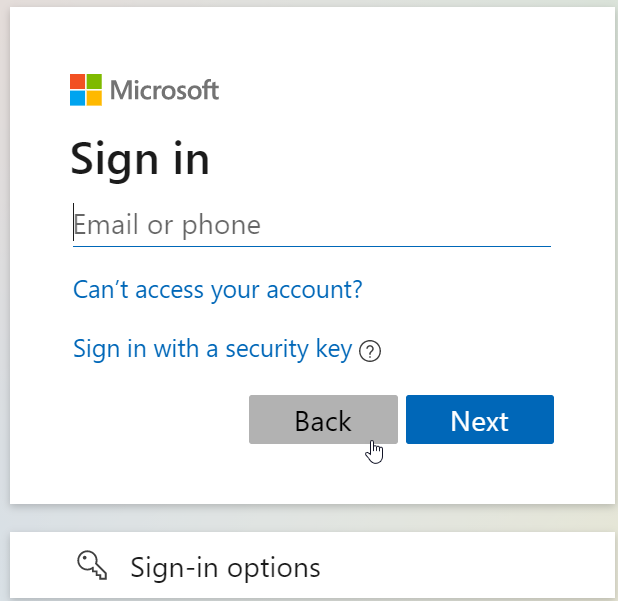
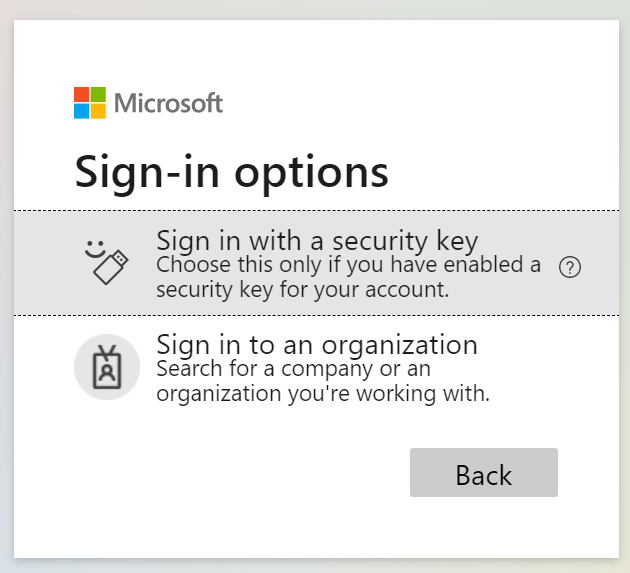
Select Sign-in options
-
Select Sign in with a security key
-
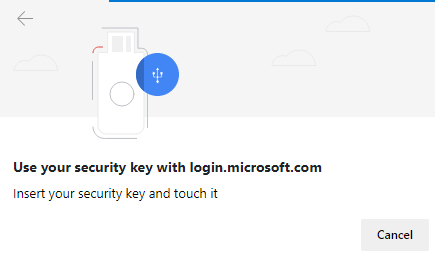
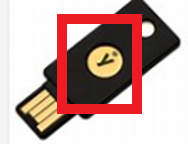
Insert your security key (Yubikey) and touch the Yubikey.
-
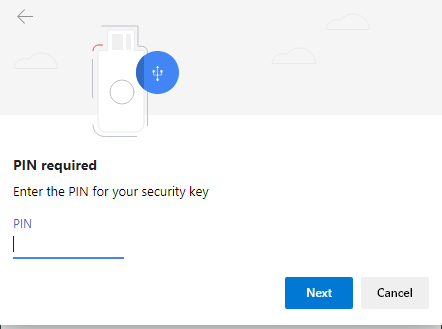
Enter your Yubikey unlock PIN and select Next.
-
You will need to touch your security again
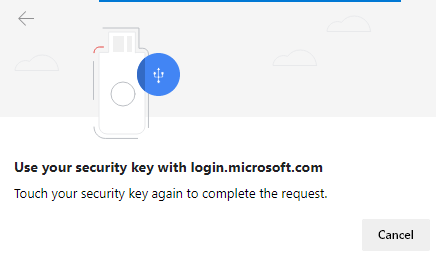
-
Select Yes at the window Stay signed in?
-
You are now able to select Security Key as your default method or select this method to authenticate
-
Authenticate using a Security Key
- You will be prompted to plug your security key into the port and to enter your 4 digit pin. Select Next once done
- Depending on your Yubikey model, you will be asked to touch the Yubikey to authenticate. Select Yes on the Stay signed in screen
How to add, change, delete or set your default authentication method for your MFA
It is encouraged that clients configure a backup method of MFA authentication, such as another phone number or the Microsoft authentication App on your smartphone device, in the event their primary MFA method is not available.
You will be prompted to validate your second factor every 24 hours for each cloud application you launch. You will also be prompted if you launch the application within a different browser. The time request will extend over time as security controls on the cloud are configured.
-
Access your work account information at the following web address myworkaccount or select My Account.
-
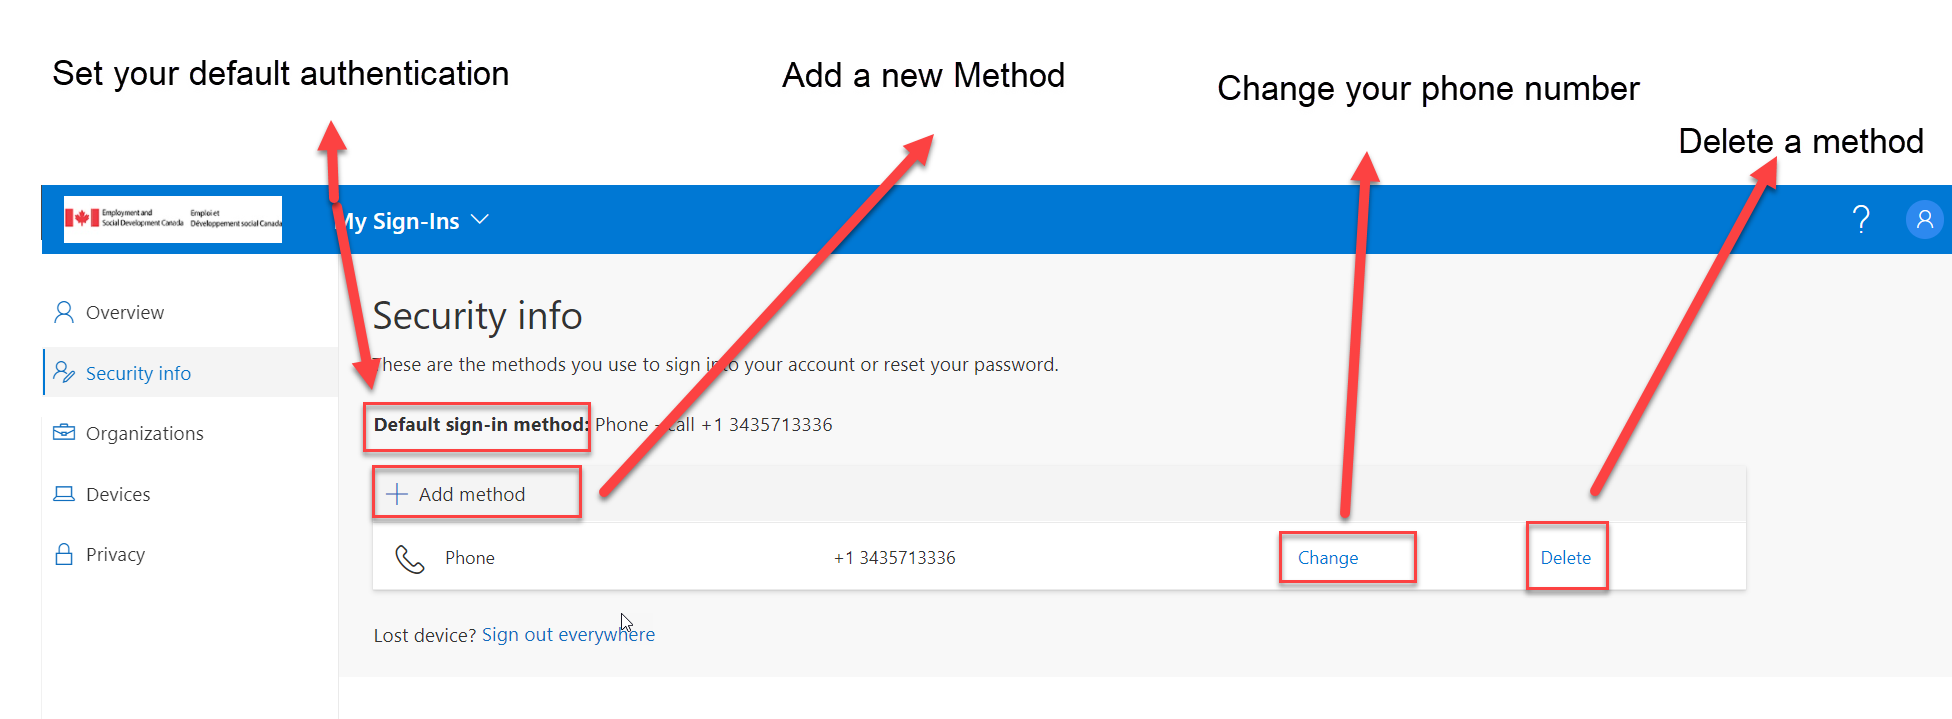
To update your Information, select Security Information on the left side of the screen or in the Security info box, select UPDATE INFO
-
You can delete, add, change or set your default method from this screen.
-
Follow instruction if you want to add: Configure MFA with Microsoft Authenticator App
-
Follow instruction if you want to add: Configure MFA with a phone call
-
Follow instruction if you want to add: Configure MFA with a security key
-
Who to contact for technical support
- Issue with mobile device:
- Can not open an application
- Send a ticket to NSD and request to assign to the Mobile - Phones group
- Issue with your authentication:
- You did not receive a call and/or having issues with your MFA
- Send a ticket to NSD and request to assign to the IT–Security-IAM group
- Issue with Microsoft Teams:
- Can not open Teams
- Problem logging into Teams
- Send a ticket to NSD and request to assign to the group
- Issue with mobile device: