Guide to Connecting Desktop or Laptop to Dual Monitors
Contents
Before you Begin
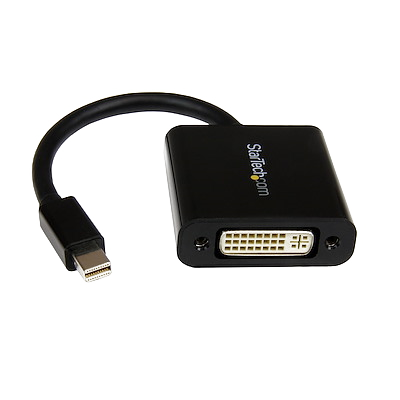
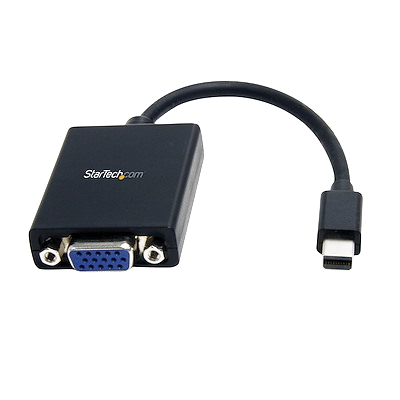
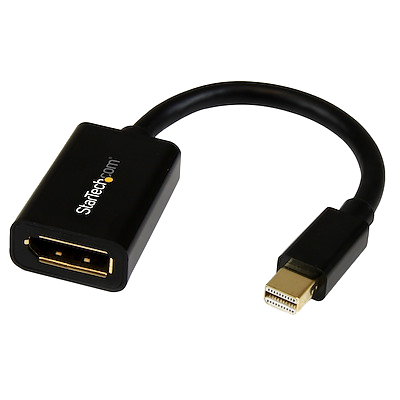
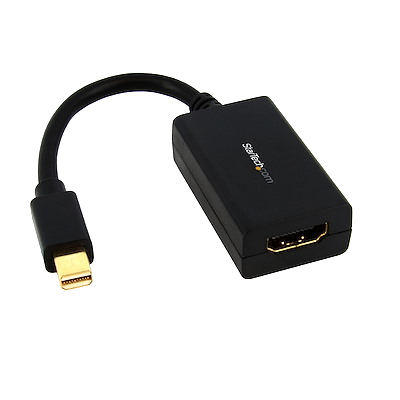
You will require: power cable for the second monitor; a video cable appropriate for the available connectors; and possibly an adapter, if the available connectors are incompatible.
Ensure your computer and first monitor are powered off and your work area is free of obstacles.
Procedure to Connect a Second Monitor
- Identify an available video port on the device. This could be VGA, DVI, HDMI or Display Port
Ports Available on Monitors, Laptops and Desktop Computers
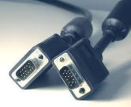
VGA

Common to Laptops & Monitors
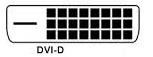
DVI-D
Display Port

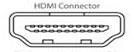
HDMI
- Ensure you have the appropriate video cable that matches the ports you identified. Attach one end of this video cable to the back of the computer and the other end to the back of the monitor using the ports you identified earlier.
Video Cable Types
VGA
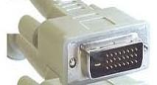
DVI-I
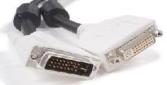
DVI-D
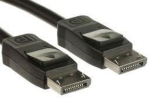
Display Port
HDMI

- Provide AC power to the second monitor by attaching the power cable between the monitor and an AC outlet (i.e. a power bar, or directly into a wall socket.)
- Power on both monitors and the computer.
- Proceed with configuring your dual monitors following the appropriate Configuring Dual Monitors documentation for your specific operating system.
- Identify an available video port on the device. This could be VGA, DVI, HDMI or Display Port
Troubleshooting
Symptom: No picture or “No Signal detected” message (black screen):
- Ensure the second monitor is turned on. Some monitors have 2 physical power buttons one on the front and the other is a toggle switch found on the back. Some have power buttons that require only a slight touch (like a touch screen) to power on.
- Check that the monitor’s power cord/cable is firmly plugged into a working power outlet. Make sure the power outlet is functional by plugging something you know works into that power source – maybe the first monitor.
- Check that the cable(s) connecting the external monitor to the computer is firmly attached and that the thumb screws hold it in tightly.
- Using the On Screen Display menus, check that the second monitor is set for the proper input setting by pressing the Menu button on the monitor. See Appendix F: for an example of an OnScreen Display (OSD).
- The menu button will likely be of the same type as the power button. Either touch or press this button to display the menu items.
- Use the UP and DOWN arrow buttons to scroll through the available options.
- Select the Input option and ensure the correct connection input is selected (VGA, DVI, etc.) What you select will depend on what type of port/cable combination you used to connect your second monitor.
- The selection is a toggle so if you select “analog” for the VGA cables and ports you used and nothing happens, try “digital” for the DVI, DVI-D, Display Port or HDMI port.
- Check the refresh rate of the second monitor. Using the On-Screen Display – Appendix F
- Using your mouse, right-click a blank area of the working monitor’s desktop;
- Select ❯ Screen Resolution. A new window will appear;
- Select ❯ Advanced Settings;
- Select ❯ Monitor tab;
- Select ❯ Refresh Rate and adjust it from 60 Hz to 75 Hz;
- Select ❯ Okay to apply the changes and close the window.
Appendix D
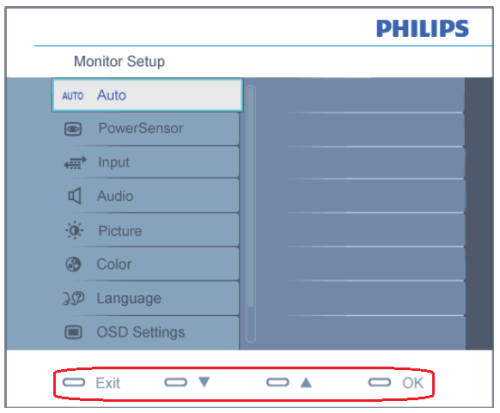
The On-Screen Display (OSD) is a feature of all LCD monitors. It allows the end user to adjust screen performance. Here is an example of what the Philips OSD looks like. The Philips monitor will have 4 ‘buttons’ located on the front of the monitor that correspond to the ‘buttons’ circled in red. Touching the buttons on the monitor allows you to navigate through the choices.
Note: that on the Philips example above, Input is the 3rd choice and even has text to describe the choice. This may not be the case will all models, because even though all LCD monitors have an OSD, each manufacturer may have a different order and the OSD may not have worded descriptions.
Appendix E
Support Arm for Monitor
If your Branch provided you with a support arm to hold your monitor, follow these installation instructions:
- Install support arm to work surface.
- Remove monitor swivel from support arm and mount swivel to monitor (see figure 1 below)
- Remove nut, bolt and washers of swivel.
- Remove monitor swivel from support arm.
- Align swivel with holes on back of monitor.
- Secure swivel with screws (provided with monitor).
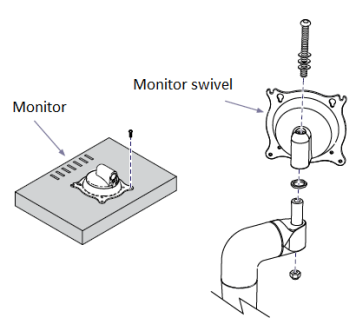
- Install swivel/monitor onto support arm
- Position swivel/monitor onto support arm.
- Secure with bolt, washers, and nut.
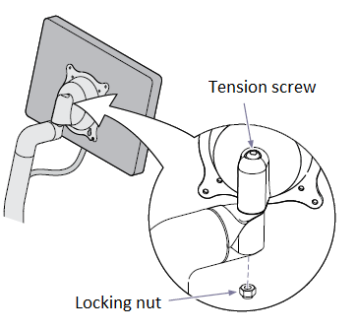
- If monitor will not stay in position (see figure 2 below)
- Loosen locking nut.
- Tighten tension screw as necessary.
- Tighten locking nut.