Secure Access Virtual Environment - Desktop (SAVE-D) User Guide
Topics
Quick Facts
You will need an Office 365 account before you can use the SAVE-D VM. Once you have an Office 365 account, you will be ready to access the VM.
There are two options to access the VM. The first is to install a remote desktop client on your device. The second option is to visit a website and use the web client; Google Chrome is the recommended browser.
What you will see:
- The VM resembles that of a brand new ESDC computer (it will not display any of your usual personal settings).
- Desktop shortcuts and Internet favorites/bookmarks may not be available.
- In Outlook, you will need to re-add any General Delivery mailboxes to which you have access.
- Local (and network) printing is not available from the VM.
- The Remote Desktop client allows you to use multiple monitors, the Web Client does not.
- Ctrl + Alt + End is the equivalent to Ctrl + Alt + Delete on your VM.
Please note that each employee has an allocated drive to store personal data, which is the F drive. The F drive mapping is named with your firstname.lastname and no one else has access to it. Please note that there is currently no way to recover data from a VM so it is strongly recommended to use your F drive for storage.
1. Complete Office 365 account setup
You need to complete setting up your Office 365 account before you can access your SAVE-D VM.
Note: You will only have to complete this section once.
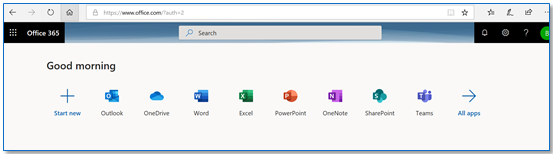
- Go to Microsoft Office
- Select "Sign In" (if prompted, select "for business") and login with your Office 365 credentials.
-
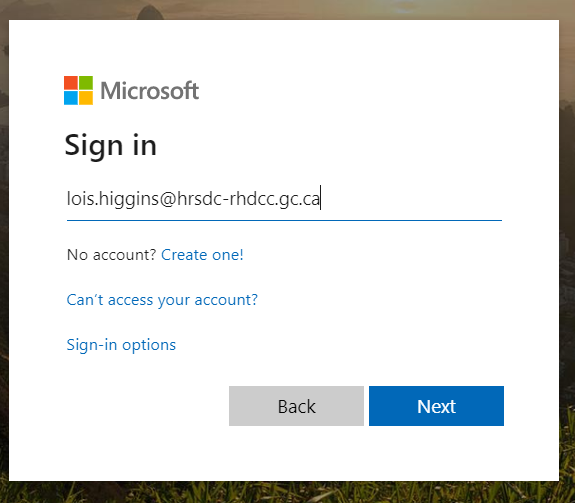
The website will prompt you to login. Use your Office 365 Username, which is your ESDC work email address, select Next, and then enter your network Password.
-
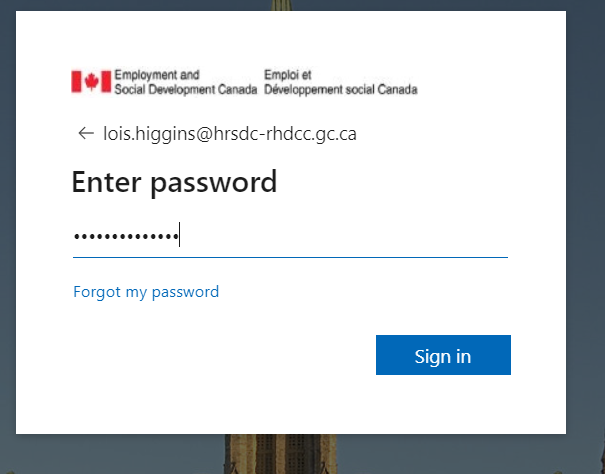
When your password has been entered, select Sign in.
The following are the steps to setup your Multi Factor Authentication: Set up your Microsoft 365 sign-in for multi-factor authentication.
-
If you have previously setup Multi Factor Authentication, you may not be prompted for secondary authentication setup. If you wish to change your MFA authentication method please use this link: Microsoft Online.
-
You may now be asked if you want to reduce the number of times you are asked to sign in. This is your preference. You may choose Yes or No.

-
The following screen will be displayed. You may close the browser and proceed to Installation and Configuration of the MS Remote Desktop Application.
2. Installation and Configuration of the MS Remote Desktop Application
2. Installation and Configuration of the MS Remote Desktop Application
After you have established your Office 365 account, download, install and configure the Microsoft Remote Desktop Application on your personal computer:
Windows
- Use the following link for a Windows installation: Connect with the Windows Desktop client
- Select the correct installation for your computer (Windows 64-bit, Windows 32-bit or Windows ARM64). If you do not know which installation to choose, right-click on your Start Menu -> System -> System Type
- Follow the on screen instructions to install the Remote Desktop
-
Launch the Remote Desktop app
 , the following screen will be displayed:
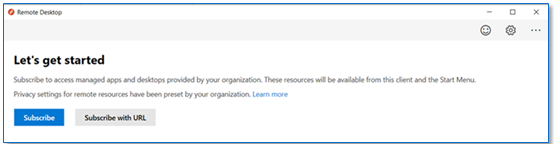
- Select "Subscribe" with the following web address:
https://rdweb.wvd.microsoft.com/api/arm/feeddiscovery - Proceed to - Log in to a Virtual Machine (VM)
macOS
- Use the following link for a macOS installation: Connect to Windows Virtual Desktop with the macOS client
- Select Download
- Follow the on screen instructions to install the Remote Desktop. If prompted for a web address, use
https://rdweb.wvd.microsoft.com/api/arm/feeddiscovery - Proceed to - Log in to a Virtual Machine (VM)
Google Chrome OS (Chromebook)
- Download the Remote Desktop application:
play.google.com - Select Install
- Launch the Remote Desktop Application and select Workspaces
- In the top right hand corner of the application select the "+" icon and select "Add Workspace".
- Enter the following web address and select next
https://rdweb.wvd.microsoft.com/api/arm/feeddiscovery - Proceed to - Log in to a Virtual Machine (VM)
Please note: If the above recommended connection options do not suit your needs you can connect to your SAVE-D Virtual Machine from any modern web browser. See section – Using a Web Browser to connected to SAVE-D.
3. Using a Web Browser to connected to SAVE-D
Web Client: To access your SAVE-D virtual machine from a web browser instead of the Remote Desktop clients in the previous sections, use the following link:
- https://rdweb.wvd.microsoft.com/arm/webclient/index.html
- Maximize your web browser (i.e. fill the whole screen).
Please note: Connecting to SAVE-D via a web browser instead of the Remote Desktop application, some features will not be available. To see the feature set differences please visit:
Remote Desktop - compare the client apps redirections | Microsoft Docs4. Log in to a Virtual Machine (VM)
-
The Remote Desktop Application lists your Virtual Machine(s), double click on the WVD00# icon.
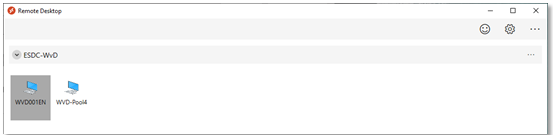
Note: If your don't see any WVD icons above, please refresh the Remote Desktop by selecting the 3 dots (…) in the 2nd row and selecting the Refresh.
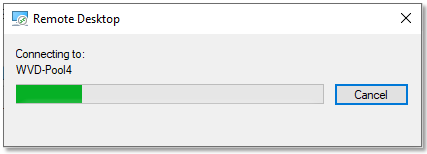
-
Please wait until it connects you to the pool.
-
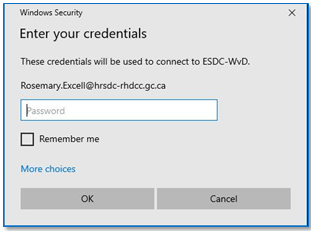
Enter your ESDC credentials and then select OK.
Note: You may be prompted to approve the sign-in via the method you set up during your Office 365 setup.
- After you have logged in, your virtual desktop will be displayed.
- If you were given a temporary network password to log in, you will now need to change it. Please follow these instructions to do so:
- Press Ctrl + Alt + End
- Click on Change a password
- Enter in your current temporary password in the Old password box, create a new password and enter it in the subsequent boxes. Press Enter when complete.
- If your new password is accepted, you will see the message Your password has been changed. Click the OK button.
- You will then be brought back to your VM desktop.
- You may have to update the time and timezone of the VM:
-
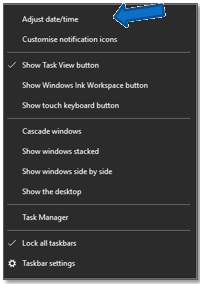
Right click on the time and date at the bottom right side of your VM:

-
Click on Adjust date/time:
-
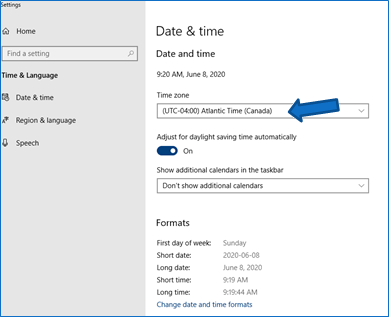
Select the time zone that is applicable to you, and then exit the window:
Your VM setup is now complete.
-
-
5. Logging Off
-
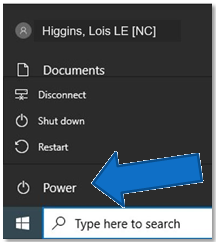
To exit the Virtual Machine, please go to the Start menu (Windows button on the bottom left corner of the screen), select Power options and then Restart.
You may receive the message below, but that is expected since your remote connection has ended.
- You can now close the Remote Desktop client.
-
Troubleshooting Tips
If you are a new ESDC user and are experiencing issues with your ESDC password, please call the National Service Desk at 1-800-268-0408 to reset your network password.
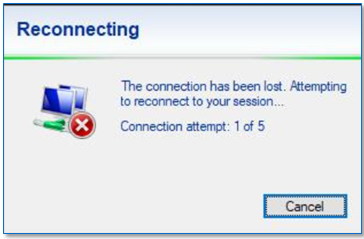
If you receive this message, please wait a few seconds to allow for the attempted reconnections.
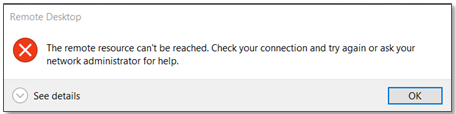
If you receive an error message after having selected your VM that says an error has occurred when trying to find it: Select the OK button and try reconnecting again.
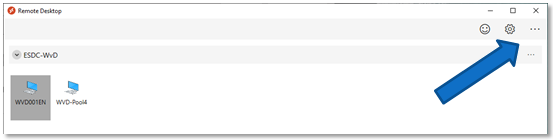
If your Windows Virtual Desktop is blank after having entered your ESDC credentials (e.g. if in the example below there was no ESDC-WvD computer showing), please refresh the Remote Desktop by selecting the 3 dots (…) in the 2nd row and selecting the Refresh.
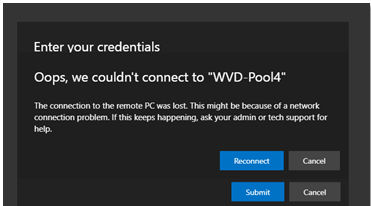
If you encounter the error "Oops, we couldn't connect to WVD-PoolX": select the blue Reconnect button to try the connection again.
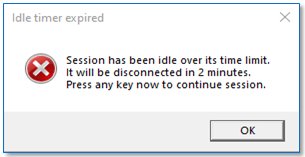
If you have been inactive in your VM for at least 15 mins or longer, you will be presented with the following warning:
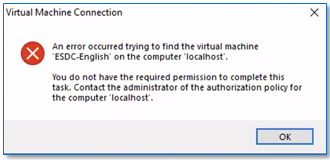
If you do not click OK, your VM will disconnect with the following message:
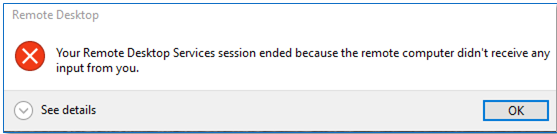
Please click OK on the message. You will be brought back to the ESDC-WvD window. Double-Click on the WVD00XEN icon and enter your ESDC credentials to sign back into your VM.
How to Contact IT Support
If you are still experiencing issues after you have performed basic troubleshooting, please submit an online request to the National Service Desk, or call 1-800-268-0408 if you are unable to connect.
Support Hours for SAVE-D are:
- Monday to Friday 6:00 – 20:00 ET
- Saturday 8:00 – 18:00 ET