Employee Guide
The ESDC Reservation System facilitates a healthy and safe return to the workplace. Employees will use the system to book physically distanced workstations in their designated work location once they have their manager’s approval to enter the workplace. Employees are also required to complete the ESDC COVID-19 Employee Active Screening Tool prior to entering the workplace.
How do I access the ESDC Reservation System?
For optimal functionality, ensure you are using one of the supported browsers for the ESDC Reservation System: Google Chrome, Microsoft Edge, or Mozilla Firefox. Google Chrome is the recommended browser for the system.
Locate the ESDC Reservation System Application
- Go to Reserve a Workstation
Log In
- Enter your username. Your username is not case-sensitive and is the same as your ESDC network username.
- Enter your password. Your password is case-sensitive and is the same as your ESDC network password.
- Select Log in.
Screen A: Log In Page 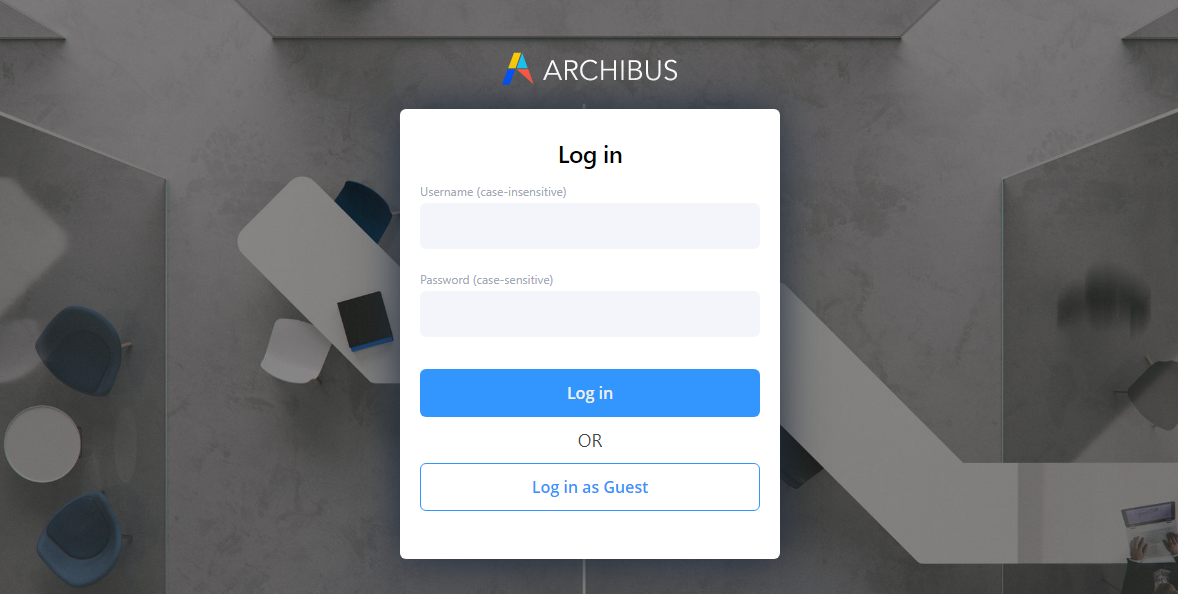
How do I book a workstation?
You can book only one workstation per day for the entire day. Workstations cannot be booked for partial days. At this time, you can book a workstation seven days in advance.
Your default booking location displays in the upper left corner of the home page. Employees should only book workstations at their assigned building at this time. If you do not see your building listed when you log in, please contact your Concierge. If you do not know who your Concierge is, contact the IT National Service Desk for assistance. You may also search for your designated work location from the Search bar at the top of Workspace homepage. Input either the street address, city, or building name to find it and make a booking in that location.
Current bookings will display on your home page.
Screen B: Book a Working Space from Home Page 
1.1. Find Available Workstations.
Select Book a Working Space
A list of workstations displays from your last working location.
Screen C: Workstation Search – List View 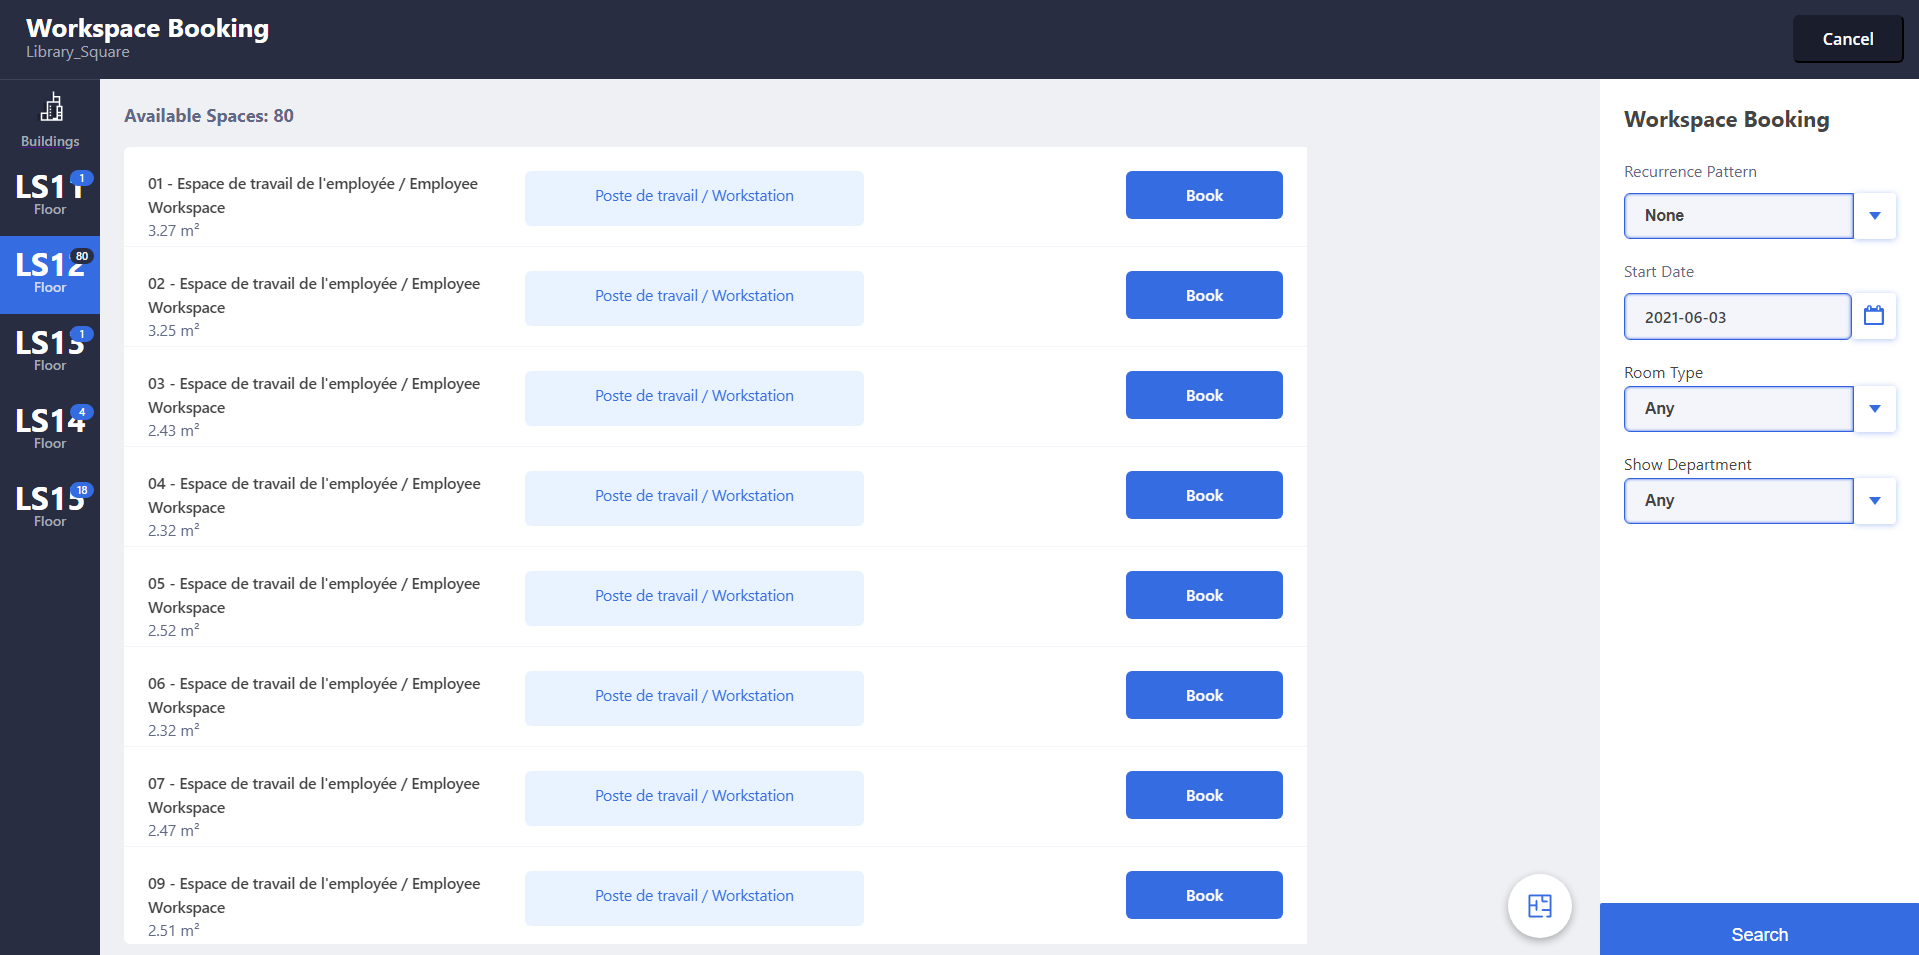
View and Book Available Workstations
The left panel displays a list of floors with available workstations. To view and book workstations for a different floor, select the floor on which you wish to book a workstation. The number in the top right corner beside the Floor indicates the number of workstations available. If no floors are displayed, no workstations are available in the selected building.
- From here, you may book a workstation or select a new floor. Switch from List View to Floorplan view by selecting the round List icon on the bottom right of the screen. If you wish to switch back to List View, select the icon again. See highlight on Screen D.
- You can return to the Home screen at any time by selecting the Cancel button on the top right-hand corner of the screen.
- Enter your booking details into the Workspace Booking area on the right panel of the screen. Details must be selected before searching for a workstation to reserve.
Screen D: Workstation Search - Floorplan View 
Field Description Recurrence Pattern Select None for single day bookings. Recurring bookings are available only for up to 7 days in advance at this time. Start Date Enter the date the booking starts. You may only book a workstation 7 days in advance. End Date Enter the date the booking ends. No End Date is required for a single day booking. Room Type Accept the default of Any. Only workstations are available for booking at this time. Show Department Accept the default of Any unless your designated work location has the space allocated by Directorate or Branch. If this is the case, you should select your Directorate or Branch from the Show Department dropdown box to find available workstations within your space allocation.
*If you select a Department, only the workstations assigned to that Department will display. To show all available workstations, select Any. - Select Search to update the displayed floor plan to identify available workstations. Workstations highlighted in blue are available for booking.
- Select on a highlighted workstation to select it.
- Select Book to book the selected workstation.
- Select Myself if booking for yourself, or Another Person if booking for someone else.
- Book for Myself
- If you selected Myself, select Book from the dialogue box.
- An onscreen message will confirm your booking.
Screen E: Booking Confirmation Message 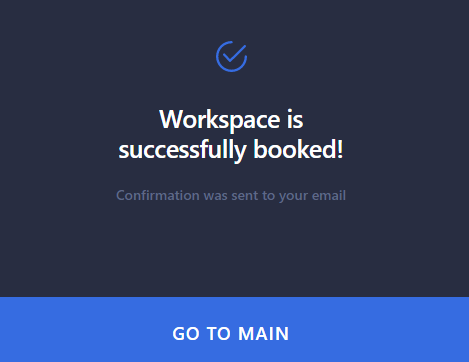
- An email will be sent to you to confirm your booking.
- Your confirmation email will include a link to the COVID-19 Employee Active Screening Tool. You must fill out the questionnaire associated with this self-assessment prior to entering the workplace.
- Book for Another Person
- If New Visitor is selected, you are then prompted to enter the First Name and Last Name of the visitor.
Screen F: New Visitor Name Dialogue 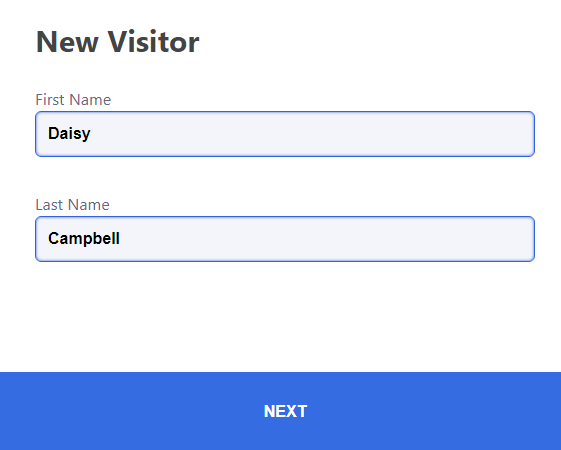
- Select Next.
- Enter the visitor’s Company Name, if required.
- Select the Department that will be visited from the Dropdown menu, if one is available. Otherwise, skip this field.
- Select Next.
- Enter the visitor’s Email address and Phone Number.
- Select Done.
- If you chose Select Name, select the name of the person who requires the booking.
Screen G: Visitor Booking Dialogue 
- Select Book once you’ve verified all booking details are correct.
- An onscreen message will confirm your booking.
- An email will be sent to you to confirm your booking.
- Your confirmation email will include a link to the COVID-19 Employee Active Screening Tool. You must fill out the questionnaire associated with this self-assessment prior to entering the workplace.
- If New Visitor is selected, you are then prompted to enter the First Name and Last Name of the visitor.
How do I review my bookings?
View your workstation bookings from your home page. To return to your log in home page, select the Cancel or Home button. To review a complete listing of your workspace bookings:
- Select Show More() from the Workspace Reservations.
Screen H: Home Page – Show More Reservations 
- Select Show More() from the Workspace Reservations.
How do I cancel a booking?
To cancel a workstation booking:
- Log in to your home page.
- View your bookings under Workspace Reservations.
- Select on the booking you wish to cancel.
- Select Cancel Booking.
*The system will not prompt you to confirm your cancellation, so take care when using this feature.
- You will receive an email confirming your cancellation.
Screen I: Booking Cancellation Confirmation 
How do I locate another employee?
An employee has the ability to search for the physical location of another employee.
- If you are a Manager, the list of your direct reports will display on the screen when you log into the ESDC Reservation System.
- Login to your Home Page.
- Select inside the Search Employee field on the left-hand side of your screen.
- Type the name of the employee into the field and press Enter.
- If you are not a Manager, you may search for a fellow employee by typing their name into the search bar at the top of the screen.
NOTE: The system will return only the top 20 records. If your search does not yield the result you are seeking, please add more detail. For example, if you know the middle initial of the employee you are searching for, including it will return a more refined list.Screen J: Employee Search Bar 
- If you are a Manager, the list of your direct reports will display on the screen when you log into the ESDC Reservation System.
How do I view Building Emergency & Evacuation documents?
To locate building emergency documents
- Go to the ESDC Intranet home page.
- Select iService.
- Select ESDC Reservation System in the iService Apps section of the iService homepage.
- Select View Building Emergency and Evacuation Documents from the Tools & Resources menu.
How do I locate Emergency Response Personnel?
From the ESDC Reservation System’s iService page, under ESDC Reservation System, select Emergency Response Personnel to display the report.
Screen L: View Emergency Response Personnel 
How do I change my Language Profile?
From the ESDC Reservation System’s iService page, under ESDC Reservation System, select Update Language Profile.
- Enter your user id and password. Your user id and password will be the same as your ESDC network user id and password.
- Select Sign In.
- From the Locale dropdown box, select the desired language profile.
Screen M: Change Locale Dropdown 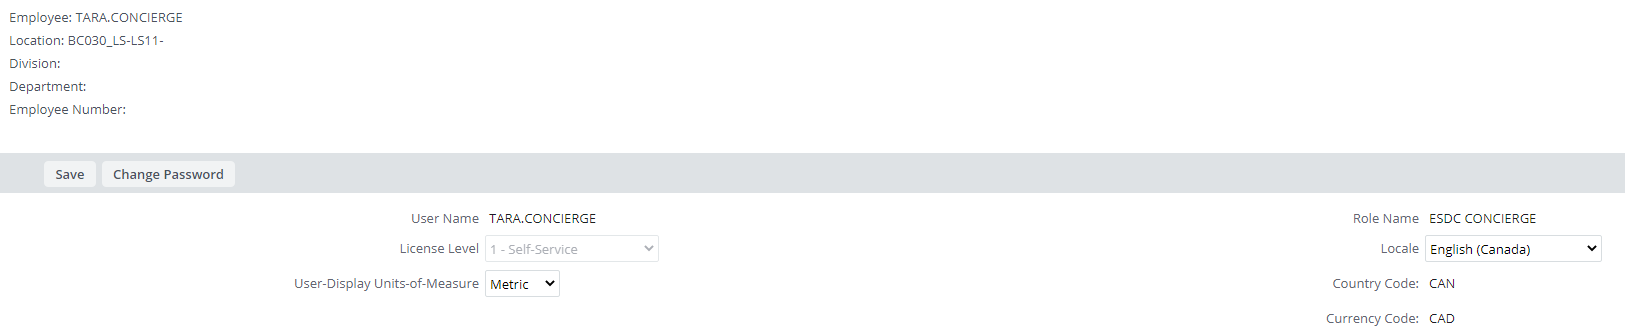
- Select Save to confirm the change.
- Select Close.
Technical Difficulties
Submit a ticket through the Help Desk at the National Service Desk for any technical issues with the ESDC Reservation System that are not resolved after consulting the User Guide.
Accessibility Needs
If you require any supports to participate fully due to accessibility concerns, please advise us at our General Mailbox at edsc.giao-cafm.esdc@hrdc-drhc.net as soon as possible.
